This post may contain affiliate links. For more information, see our privacy policy.
Each year, I love dreaming up a signature Christmas Cookie, but there are a few non-negotiables. They have to be beautiful, easy (if I can make them, with zero decorating skills, anyone can), and of course… super delicious! I tossed around quite a few ideas before landing on these Christmas Chocolate Shortbread Cookies.

Easy, beautiful and delicious!
The moment these Chocolate Shortbread Christmas Cookies came together, I knew they checked all of the boxes. And after my daughter-in-law, Lindsay, made a batch for a video tutorial (below), her text sealed the deal:
“I took the cookies to the playground when I picked up Hayes from school today, and everyone (kids and parents) went crazy over them! They said they were delicious and beautiful!”
There’s nothing quite like unsolicited taste-test approval, especially from a crowd that includes both sugar-loving kids and discerning adults, right?
Happily, these cookies are just as easy as they are pretty. Both the chocolate shortbread dough and the buttercream frosting come together in one bowl each, with no mixer required.
The “snow” is simply melted white chocolate candy melts, and the Christmas tree is a little buttercream squiggle piped from a pastry bag (or zip-top bag) fitted with a plain tip. A sprinkle of colorful nonpareils and a tiny decorative star or flower on top, and suddenly you have a festive, bakery-worthy cookie, no fancy skills required!

What you’ll need…
These Christmas chocolate shortbread cookies are made with simple pantry ingredients and come together in easy stages: the cookie dough, the snowy white chocolate dip, and the buttercream Christmas trees.
For the chocolate shortbread dough:
You’ll need butter, powdered sugar, cocoa powder, vanilla and peppermint extracts, salt, all-purpose flour, and cornstarch. The cornstarch gives the cookies that classic, melt-in-your-mouth shortbread texture.
For the “snow”:
White chocolate candy melts create the snowy base. A little coconut oil is optional, but it helps thin the chocolate so it’s easier to dip and gives a smoother finish.
For the buttercream Christmas trees:
A simple buttercream made with butter, powdered sugar, half-and-half, and peppermint extract pipes easily and holds its shape beautifully. A few colorful nonpareils and tiny decorative stars or flowers are all you need for a festive finish.
You’ll find exact measurements and full instructions in the recipe card below.

How to Roll Cookie Dough Evenly (My “Magic” Rolling Pin)
If you’ve been around The Café for a while, you may already know about my favorite rolling pin. I lovingly call it my “magic rolling pin” because it somehow makes me look like a much better cookie baker than I actually am. Truth be told, rolling cookie dough to an even thickness has never been my strong suit. No matter how careful I tried to be, I’d end up with cookies that were too thick, too thin…or somehow both at the same time.

That all changed a few years ago when I discovered this adjustable rolling pin. It comes with removable thickness rings that slip onto the ends of the pin, ensuring the dough rolls out evenly every single time. Whether you want thinner cookies or a slightly thicker shortbread, you just choose the rings you need and roll away. Ever since I started using it, my cookies bake more evenly, look more uniform, and honestly feel a whole lot less stressful to make.
How to decorate these cookies (Video Tutorial)
I originally planned to create a step-by-step photo tutorial to show just how easy it is to decorate these Chocolate Shortbread Christmas Cookies, but my daughter-in-law, Lindsay, offered to do something even better… a video. And if “a picture is worth a thousand words”, a video demonstration is probably worth 100,000! In the video, Lindsay walks you through the simple decorating process, from dipping the cookies in white chocolate “snow” to piping the buttercream Christmas trees and adding the final festive touches. Thanks, Lindsay!
Did you notice how, at the end, she shares a pretty little peek at how these cookies look when packaged up for gifting? That brings me to one of my favorite parts of this post… the fun, whimsical free printable labels.
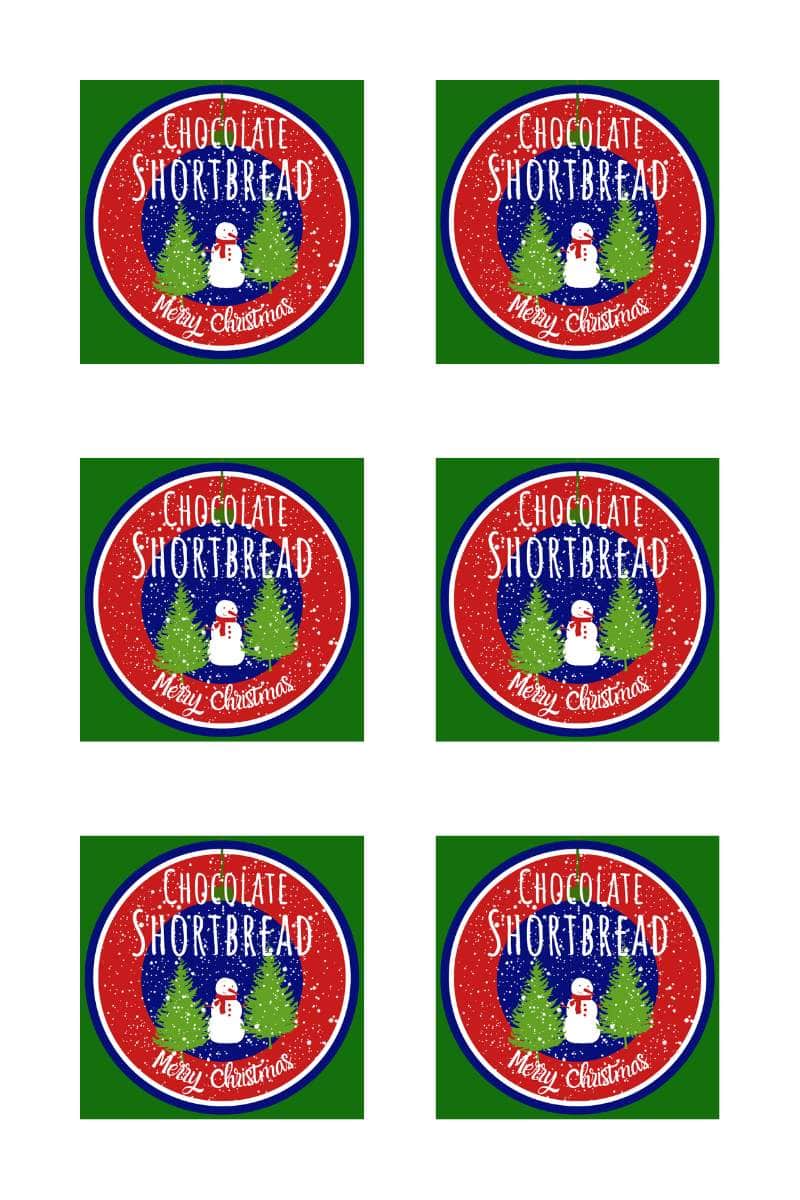
Free Printable Chocolate Shortbread Cookie Labels
If you’re planning to share these Chocolate Shortbread Christmas Cookies with friends, neighbors, co-workers, teachers… anyone, we’ve created free printable labels to make gifting easy and beautiful. Just fill in your name and email below, and you’ll receive the labels straight to your inbox, along with simple printing instructions and links to the boxes and ribbon shown in this post.

And if you’re not already on our email list, you’ll also start receiving fresh Café inspiration… easy, elegant recipes, entertaining ideas, and thoughtful touches to make everyday moments and special gatherings a little more delicious and beautiful.
Get your free printable labels
Make them!
Whether you’re baking for a cookie exchange, setting out a plate for Santa, or packaging up a thoughtful gift from the kitchen, these Chocolate Shortbread Christmas Cookies are as fun to share as they are easy to make. Simple, festive, and SO delicious, they’re the kind of cookie that turns an ordinary day into something special!

Café Tips for perfect Chocolate Shortbread Christmas Cookies
- Start with very soft butter.
- Since there’s no mixer involved, soft butter is key to getting a smooth, cohesive dough. Let the butter sit at room temperature until very soft, or use the microwave on low power (10%) in 30-second bursts. You want it creamy and pliable, not melted.
- Don’t skip the chilling step.
- Chilling the cut-out cookies helps them hold their shape in the oven and prevents spreading. It also dries the dough slightly, which intensifies that classic shortbread flavor, a win-win!
- Cornstarch makes a difference.
- That small amount of cornstarch helps the cookies bake up with clean edges and gives them a tender, crisp shortbread texture.
- Roll the dough evenly for best results.
- These cookies are meant to be rolled about ¼-inch thick. Even thickness ensures they bake uniformly and look polished. If rolling dough evenly is a challenge (you’re not alone!), an adjustable rolling pin with thickness rings takes all the guesswork out and makes every batch look bakery-perfect.
- A few rolling and cutting tips:
- Lightly flour your work surface and rolling pin.
- Dip the edge of your cookie cutter in flour between cuts.
- Press straight down when cutting – don’t twist the cutter.
- It’s perfectly fine to re-roll scraps and cut additional cookies.
- Space-saving fridge tip.
- If refrigerator space is tight, chill all the cut cookies on one sheet pan. Once they’re firm, you can divide them between pans for baking.
- Decorate only after the cookies are completely cool.
- Letting the cookies cool fully ensures the white chocolate “snow” sets properly and the buttercream trees hold their shape.
- The cookies will be slightly puffed after being in the oven for a while. You can give them a nice flat top by pushing gently on the tops with a metal spatula right after they come out of the oven.
Get This Recipe In Your Inbox
Share your email, and we’ll send it straight to your inbox. Plus, enjoy daily doses of recipe inspiration as a bonus!
Prevent your screen from going dark
For the cookie dough:
- 1 cup very soft butter, I use salted butter
- ¾ cup powdered sugar
- ⅓ cup cocoa powder, I use regular Hershey’s cocoa, but Hershey’s dark and Ghirardelli also work.
- 1 teaspoon vanilla extract
- ½ teaspoon peppermint extract
- ½ teaspoon kosher salt, I use Morton’s kosher salt
- 1¾ cups all-purpose flour
- ¼ cup cornstarch
For the white chocolate “snow”
- 1 cup white chocolate candy melts, I really like Ghirardelli, available at most larger groceries
- 1 teaspoon coconut oil, optional, for thinning
For the buttercream Christmas trees:
- 1 tablespoon soft butter
- 1 cup powdered sugar
- 1½-2 tablespoons half-and-half
- ½ teaspoon peppermint extract
- Green food coloring, I use green gel food coloring but liquid will also work
- nonpareils and small decorative stars or flowers, optional for tree topper
- thin pretzel sticks, broken into short pieces (for tree trunks)
For the prep:
Line two half-sheet pans with parchment paper and set aside.
For the cookie dough
Place the soft butter in a medium-large mixing bowl and stir for 10-15 seconds until nice and creamy. 1 cup very soft butter
Add the powdered sugar and cocoa powder and stir until well combined. The mixture may look dry at first – keep stirring and it will come together. ¾ cup powdered sugar, ⅓ cup cocoa powder
Stir in the vanilla extract, peppermint extract, and salt. 1 teaspoon vanilla extract, ½ teaspoon peppermint extract, ½ teaspoon kosher salt
Add the flour and cornstarch and stir until no dry flour remains. If needed, use your hands to gently knead the dough in the bowl until smooth. 1¾ cups all-purpose flour, ¼ cup cornstarch
To roll:
Turn the dough out onto a lightly floured surface and knead briefly to form a ball. Divide the dough in half and shape each half into a smooth disc.
Roll the dough to ¼-inch thickness (see tips above in the post about rolling). Cut into rounds using a 3-inch cookie cutter and place cookies 1½ inches apart on the prepared pans.
Gather scraps, reroll, and cut additional cookies.
To chill:
Refrigerate the unbaked cookies for 30 minutes (longer is fine).
To bake:
Preheat the oven to 350°F (175°C).
Bake cookies for 12-14 minutes, until set.
For a nice smooth cookie top, use a flat metal spatual to pat out any bumps or lumps.
Let the cookies cool on the pan for 5 minutes, then transfer to a wire rack to cool completely before decorating.
For the white chocolate “snow”
Line a work surface with a piece of parchment paper, large enough to fit all of the cookies.
Place the white chocolate candy melts and coconut oil (if using) in a small microwave-safe bowl.1 cup white chocolate candy melts, 1 teaspoon coconut oil
Microwave at 50% power in 15-second intervals, stirring between each, until smooth.
Have a second clean small bowl set out near the parchment paper.
Holding a cookie by the edge, dip the bottom of a cookie into the melted chocolate. Turn it a bit from side to side, to create a “snowbank,” then gently scrape excess chocolate on the extra bowl’s rim.
Place cookies on parchment and immediately press a small pretzel piece into the chocolate for the tree trunk.
Allow the chocolate to set completely.
For the buttercream Christmas trees:
Optional: For more uniformly shaped Christmas trees, cut a small triangle from paper or light cardboard in the size you’d like your trees to be. Once the white chocolate “snow” has set, place the triangle in the center of a cookie where you want the tree. Using a small, sharp knife, lightly score along the edges of the triangle to outline the shape. Remove the template and pipe the buttercream just to cover the score lines.(See the video above for a quick demonstration.)
In a medium bowl, stir the butter until smooth.1 tablespoon soft butter
Add powdered sugar, 1½ tablespoons half-and-half, peppermint extract, and food coloring (if using). Stir until smooth, adding more half-and-half as needed for a thick but pipeable consistency. Add green food coloring, just a bit at a time until your desired tree color is reached. Stir well to combine. 1½-2 tablespoons half-and-half, ½ teaspoon peppermint extract, Green food coloring
Transfer buttercream to a piping bag fitted with a small round tip (Wilton #3 works well).
Pipe Christmas trees onto each cookie, starting at the top and widening as you pipe downward.
Immediately sprinkle with nonpareils and top with a decorative star or flower if desired. nonpareils and small decorative stars or flowers
Let cookies dry before storing or packaging.
You will have some of the green buttercream left.
Peppermint strength varies: Start with the listed amount; adjust slightly if your extract is strong.
Half-and-half substitute: Use milk, cream, or a combination of both if half-and-half isn’t available.
Storage: Once fully dry (4–5 hours or overnight), cookies can be stacked and stored in an airtight container.
Calories: 204kcalCarbohydrates: 24gProtein: 2gFat: 12gSaturated Fat: 8gPolyunsaturated Fat: 0.4gMonounsaturated Fat: 3gTrans Fat: 0.4gCholesterol: 26mgSodium: 142mgPotassium: 37mgFiber: 1gSugar: 13gVitamin A: 301IUCalcium: 7mgIron: 1mg
Shop Our Café Loves
We’ve gathered our favorite kitchen tools, tableware, and entertaining treasures in one place, the Café Loves store. It’s a wonderful spot to find something special for yourself or the cooks and hosts you love!
thecafesucrefarine.com (Article Sourced Website)
#Fabulous #Chocolate #Shortbread #Christmas #Cookies #Free #Printable #Gift #Labels