Disclosure: This post may contain affiliate links, which means I may earn a commission if you click on the link and make a purchase.
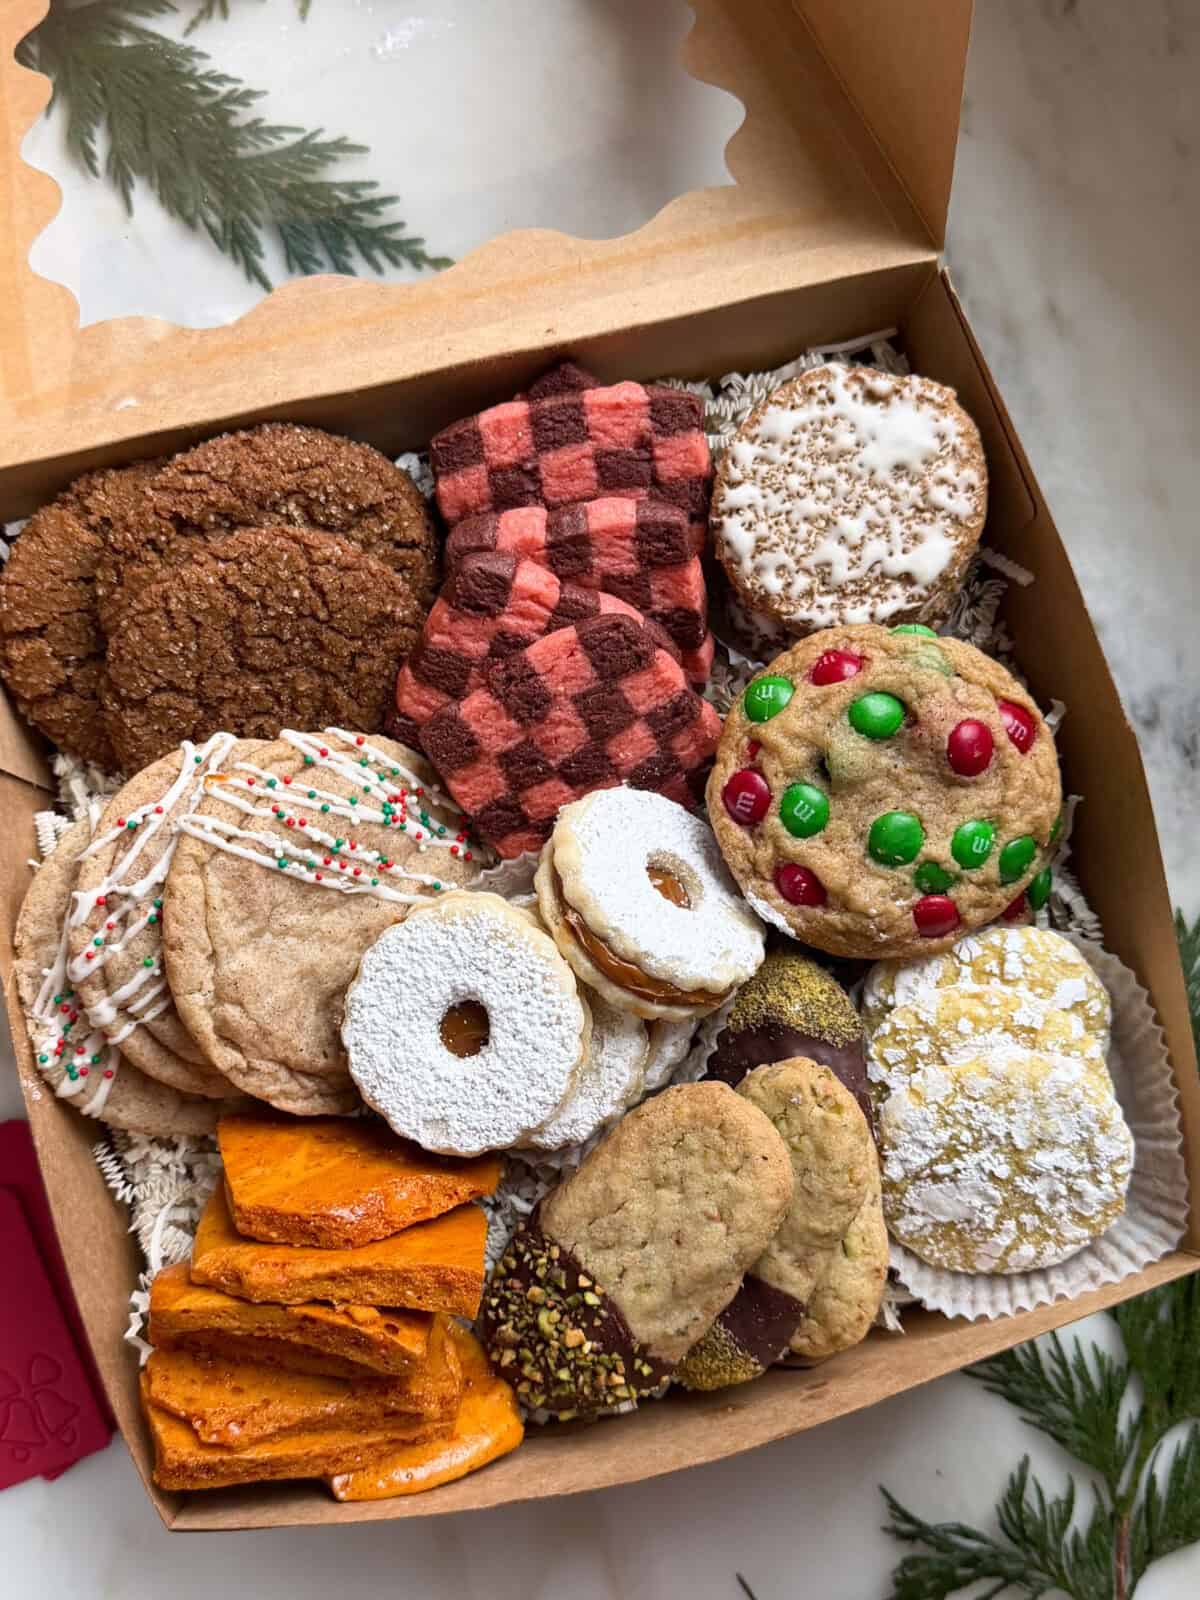
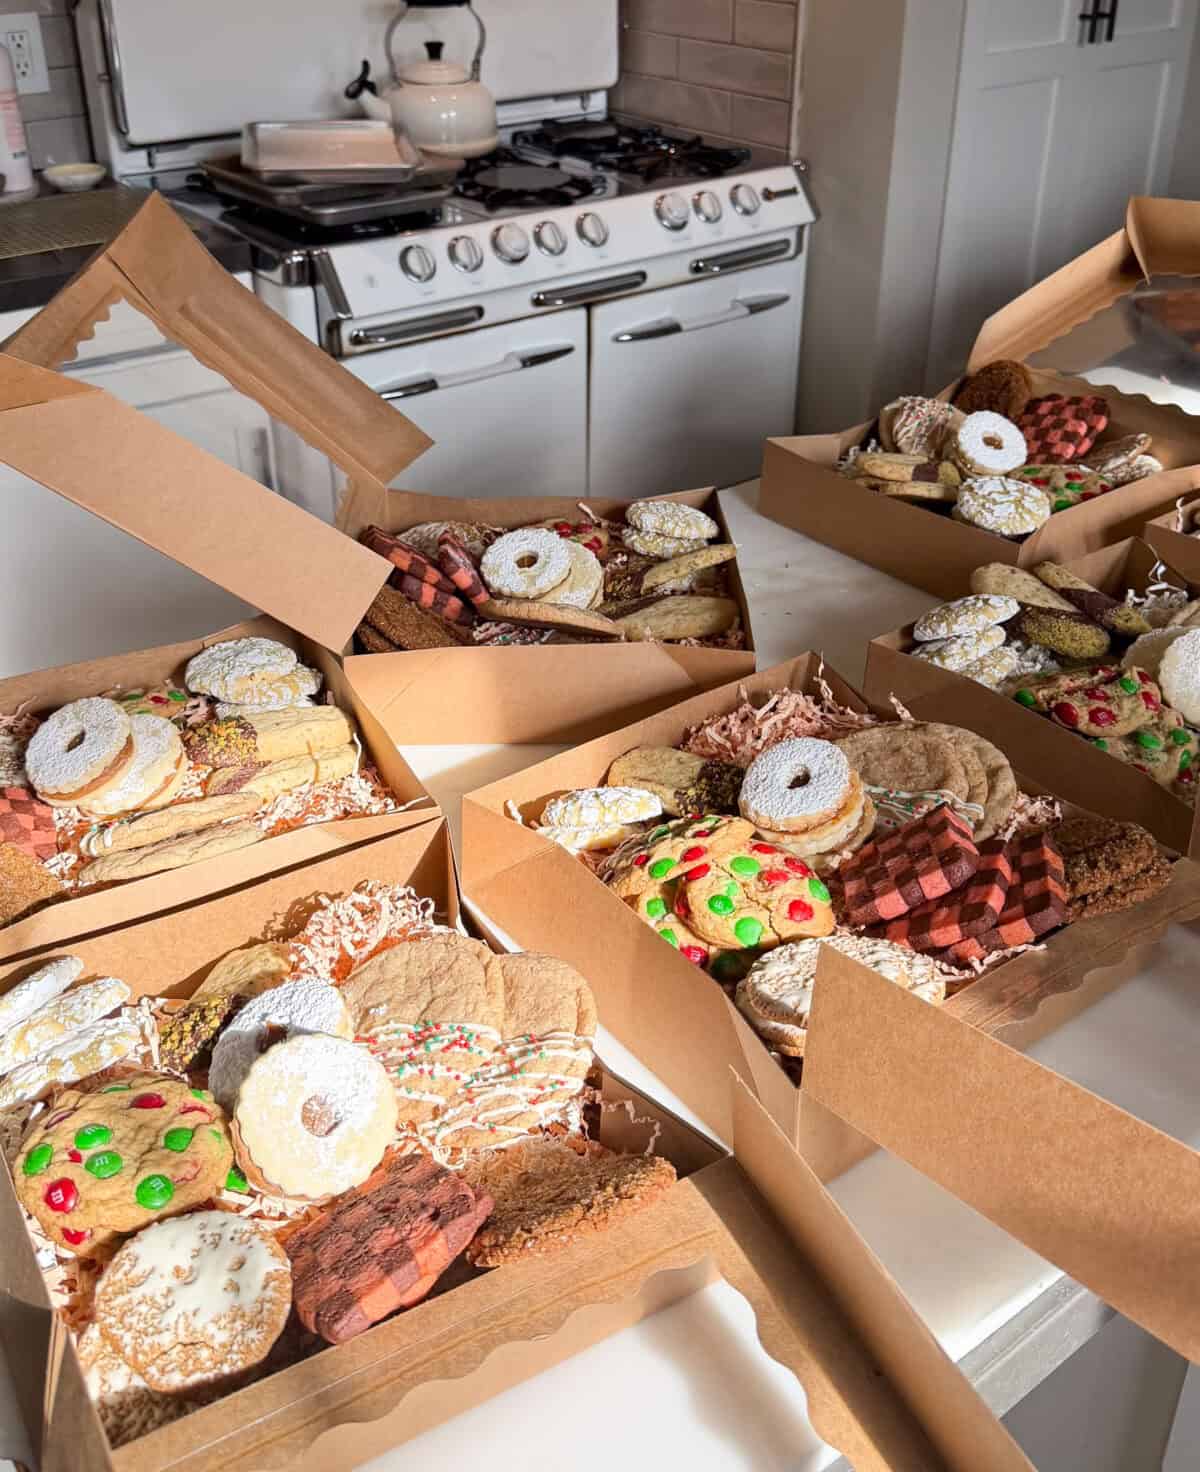
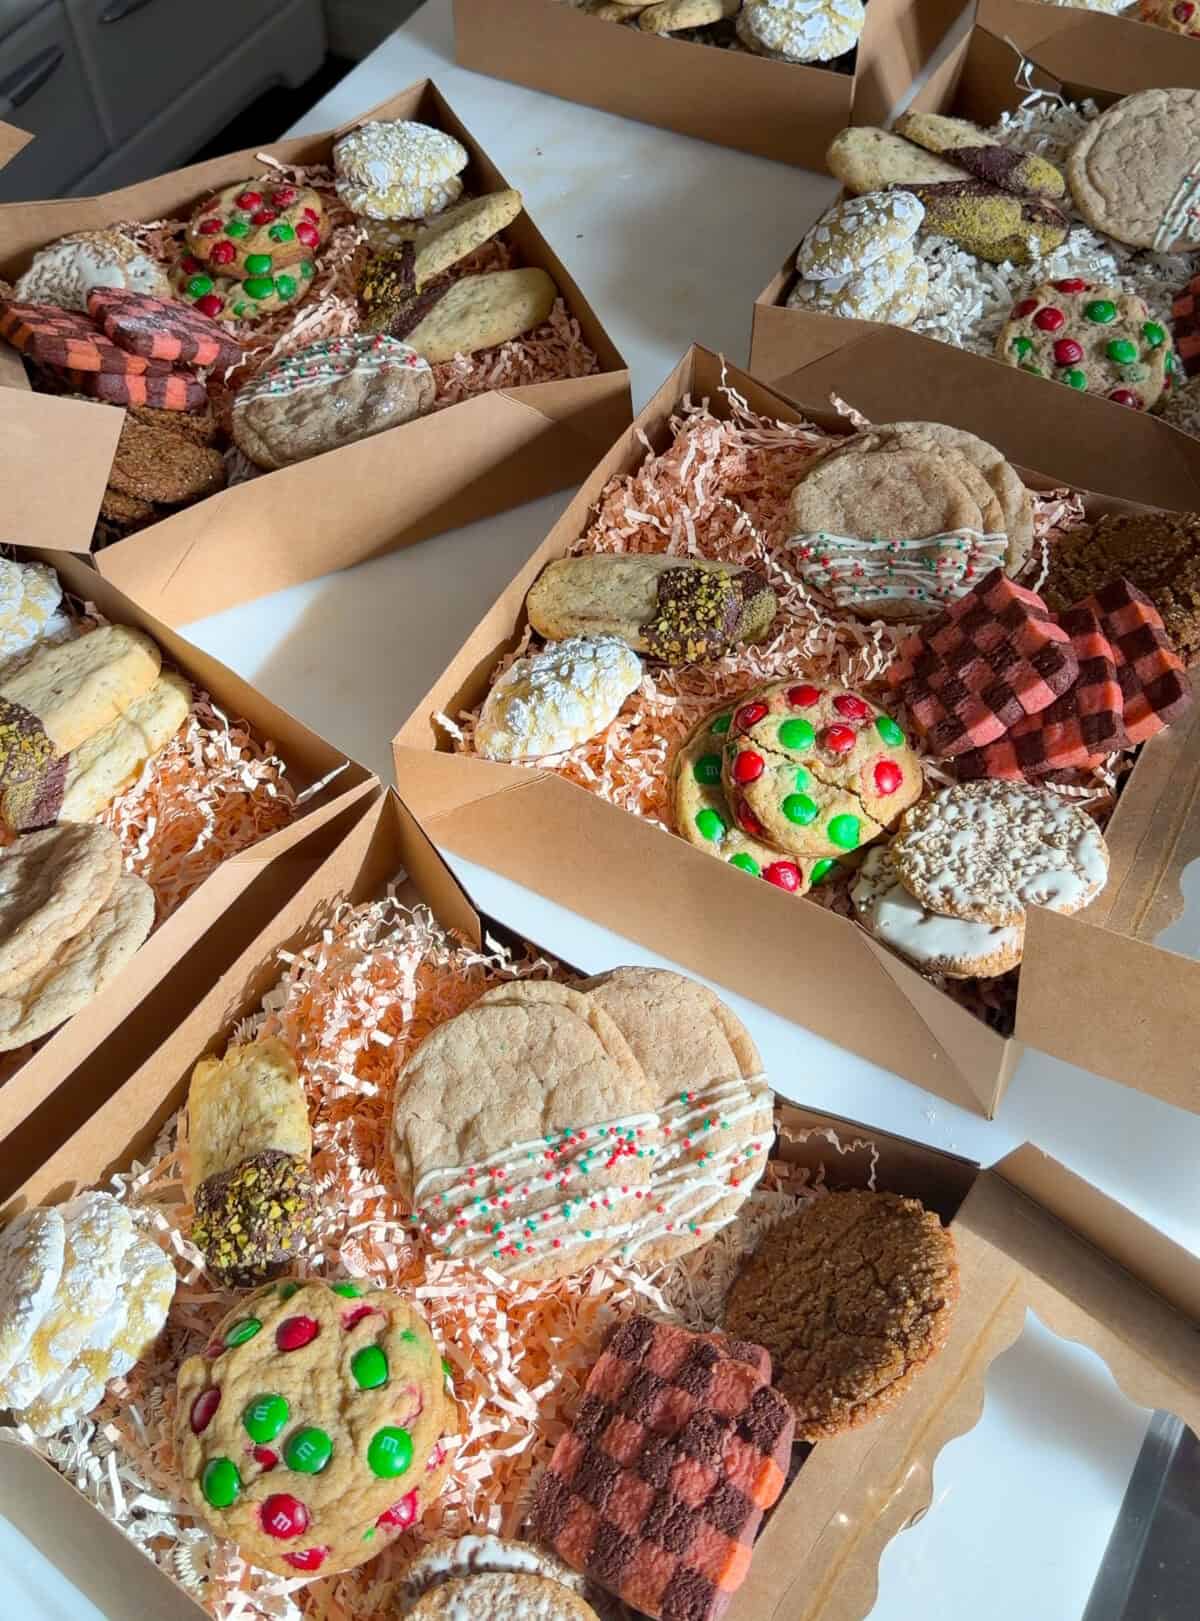
There’s something so special about giving (and receiving!) a beautifully packed box of Christmas cookies. I’m talking about those gorgeous, overflowing boxes filled with crispy ones, chewy ones, chocolate-y ones, and citrusy ones. The kind that makes someone feel like you just handed them a little piece of cozy holiday magic.
Let’s dive in to how to build a Christmas cookie box!
I’ve been making cookie boxes for friends and family for years now, and it’s become one of my favorite holiday traditions. But here’s the thing: it can feel overwhelming. How many cookies do you need? Can you make things ahead? How do you keep from burning out?
That’s exactly what this guide is for. I’m breaking down everything I’ve learned about making the perfect Christmas cookie box—from the cookies you should include to all the tips that make the process actually enjoyable. Let’s get into it!
The Cookie Box Lineup
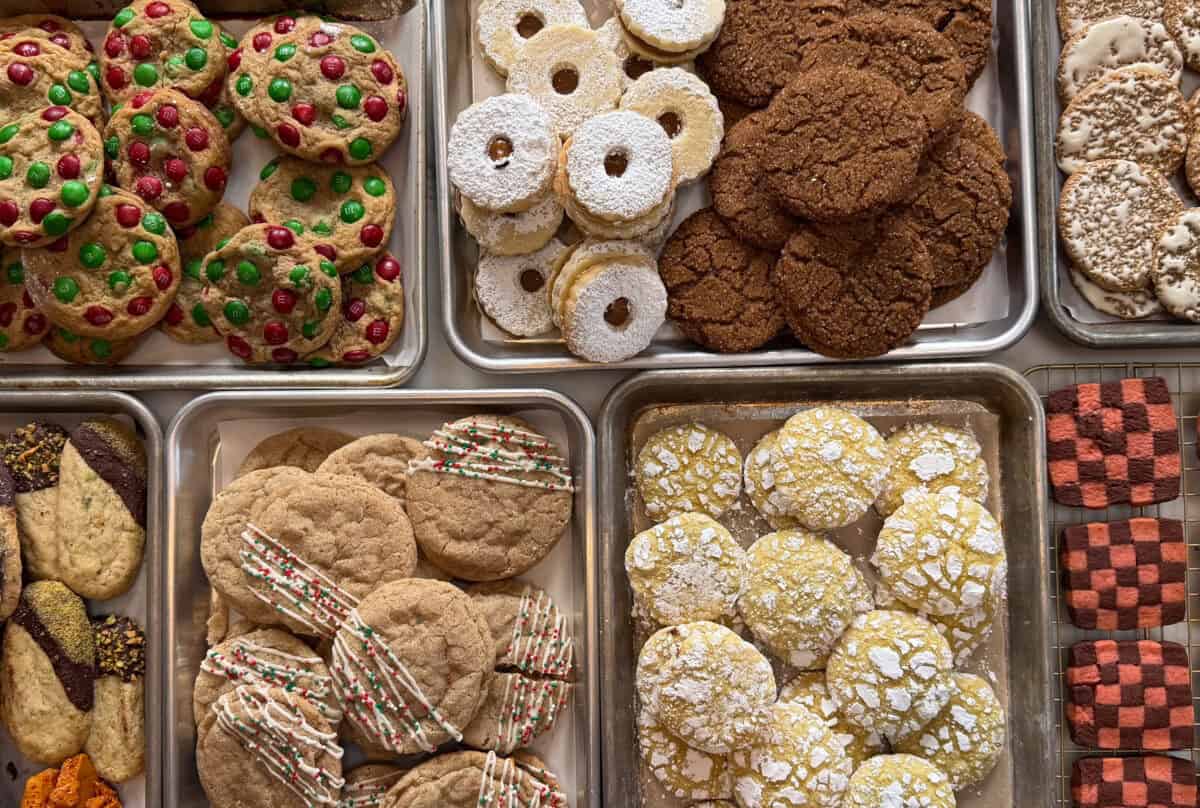
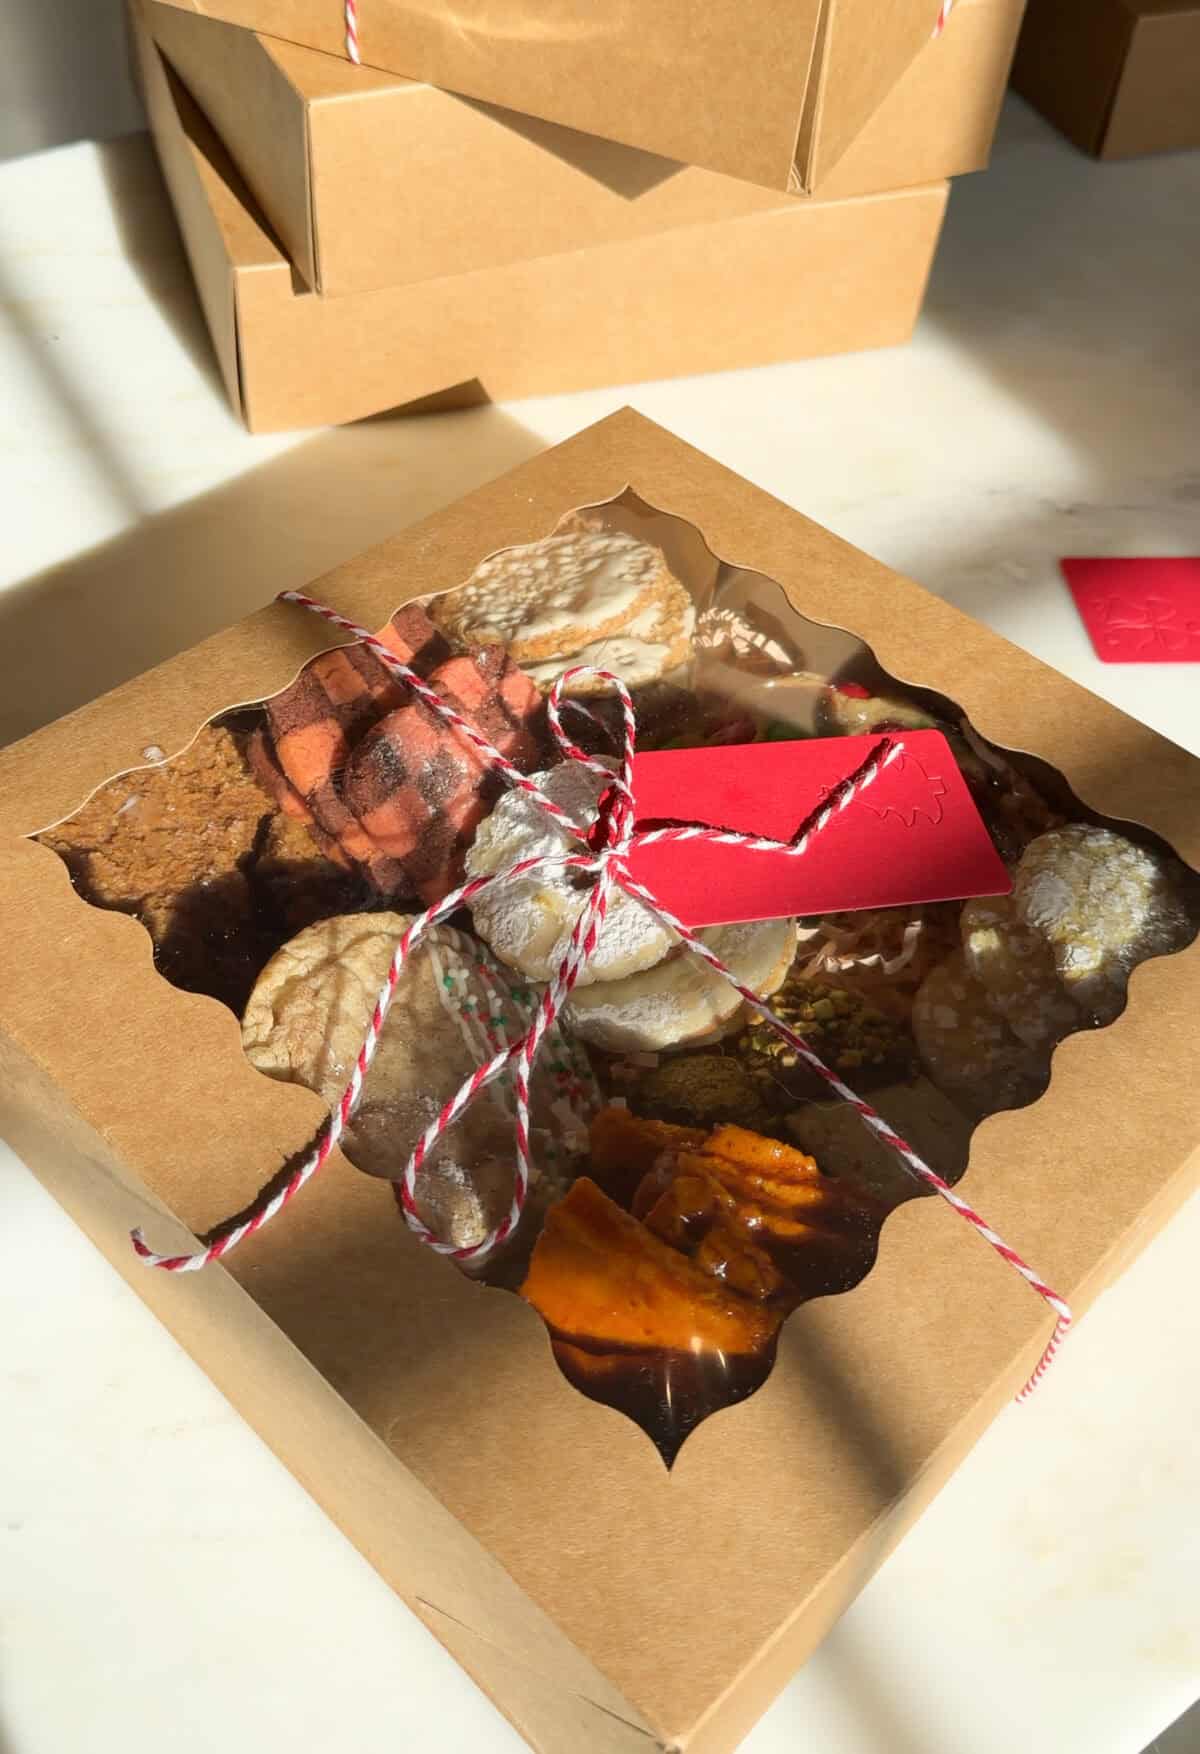
Nine recipes that work beautifully together, offering different flavors, textures, and colors in your Christmas cookie box.
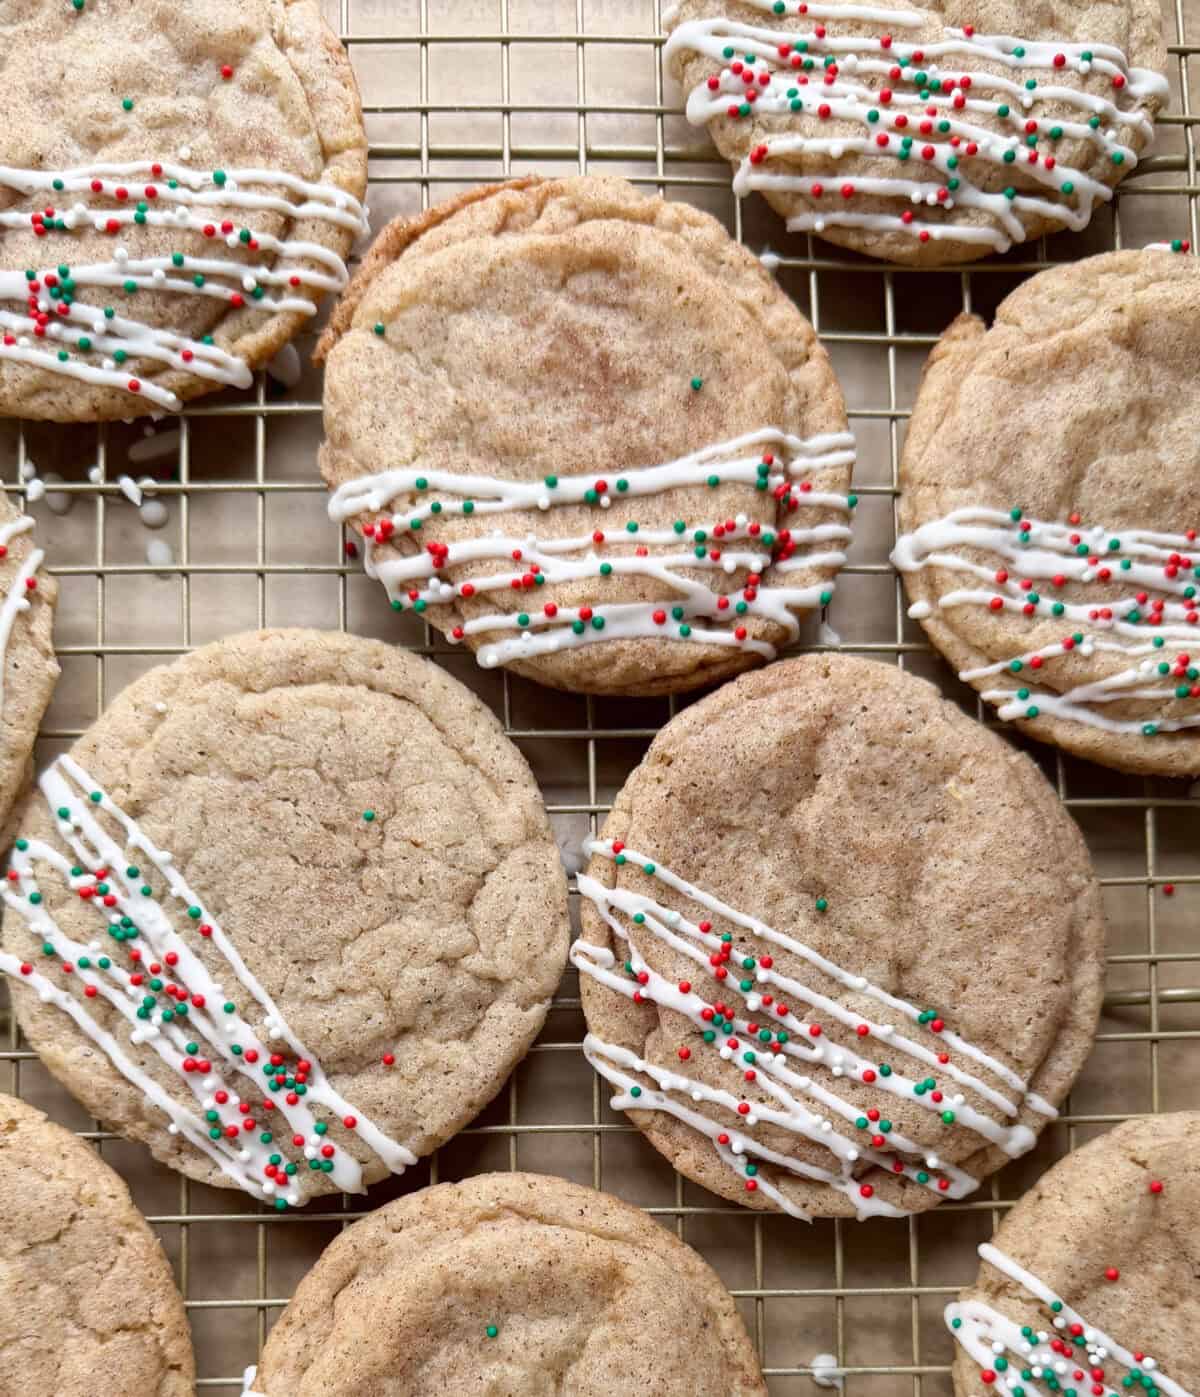
1. Chai Snickerdoodles – Warm, spiced, and cozy with slightly crispy edges and soft, chewy centers. That cinnamon-sugar coating? Chef’s kiss. Perfect for anyone who loves warm spices.
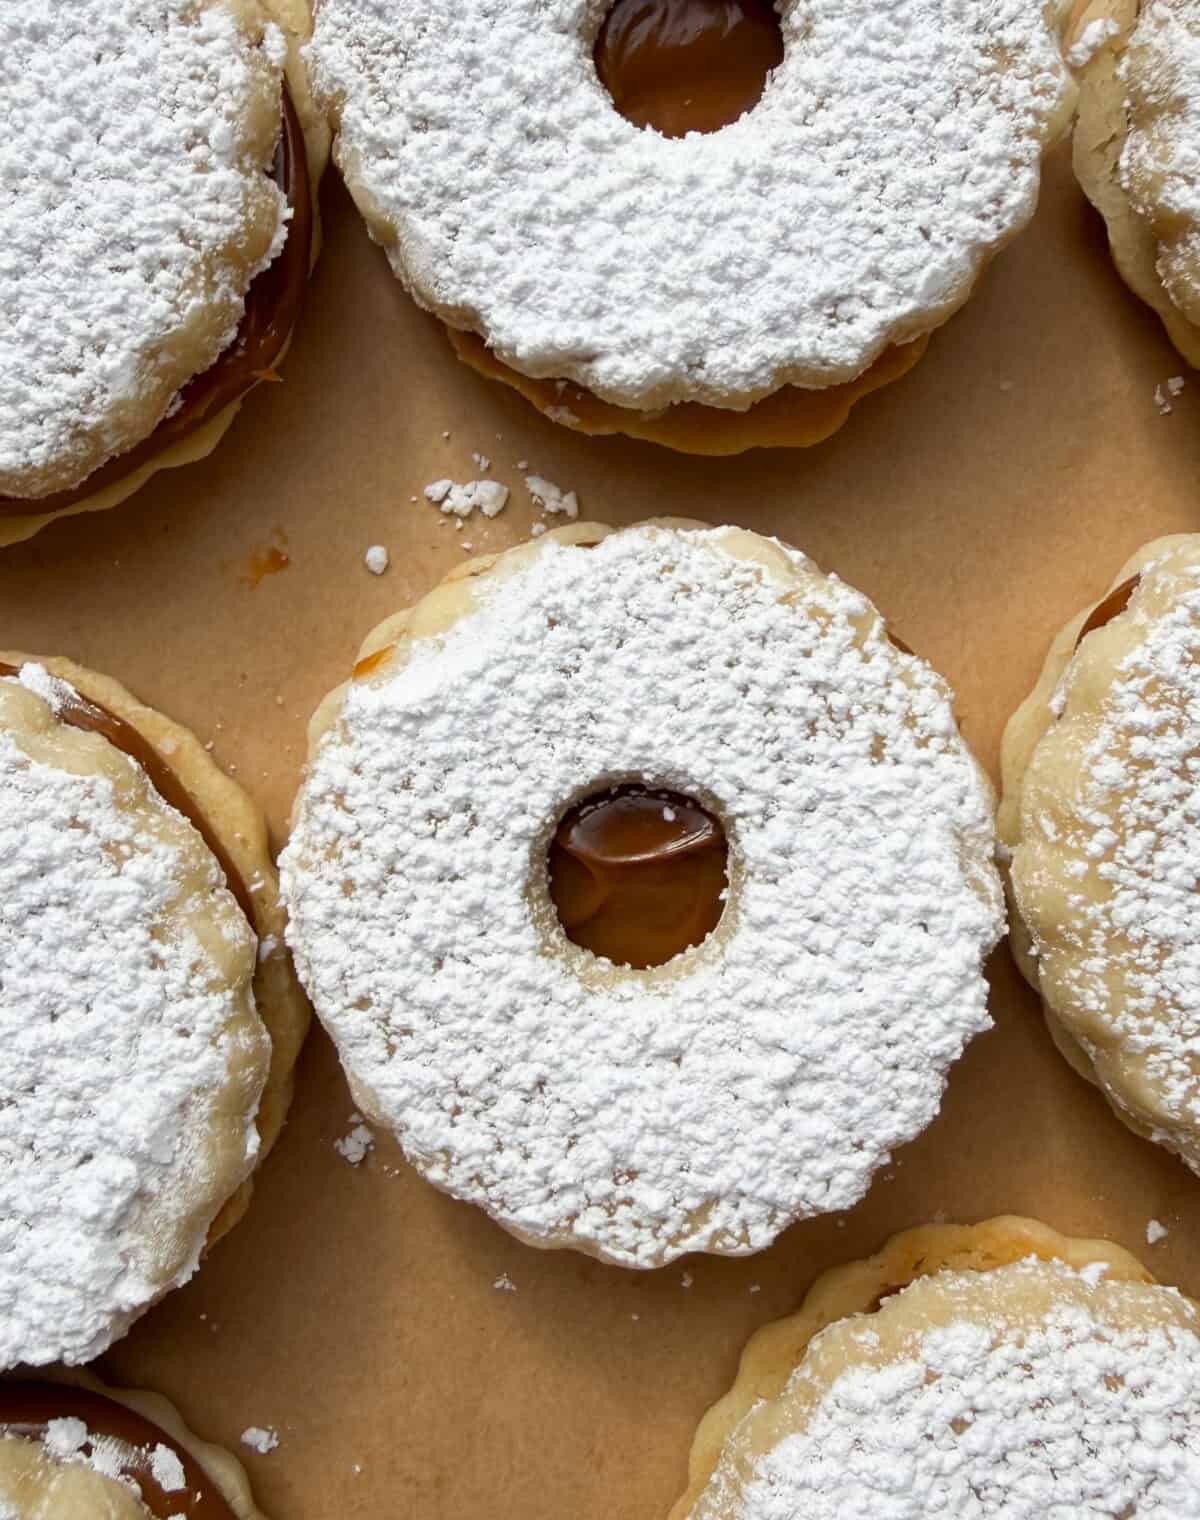
2. Alfajores Linzer – A Peruvian treat meets Christmas classic, I love these for their perfect dulce de leche filling with a buttery, melt-in-your-mouth cookie.
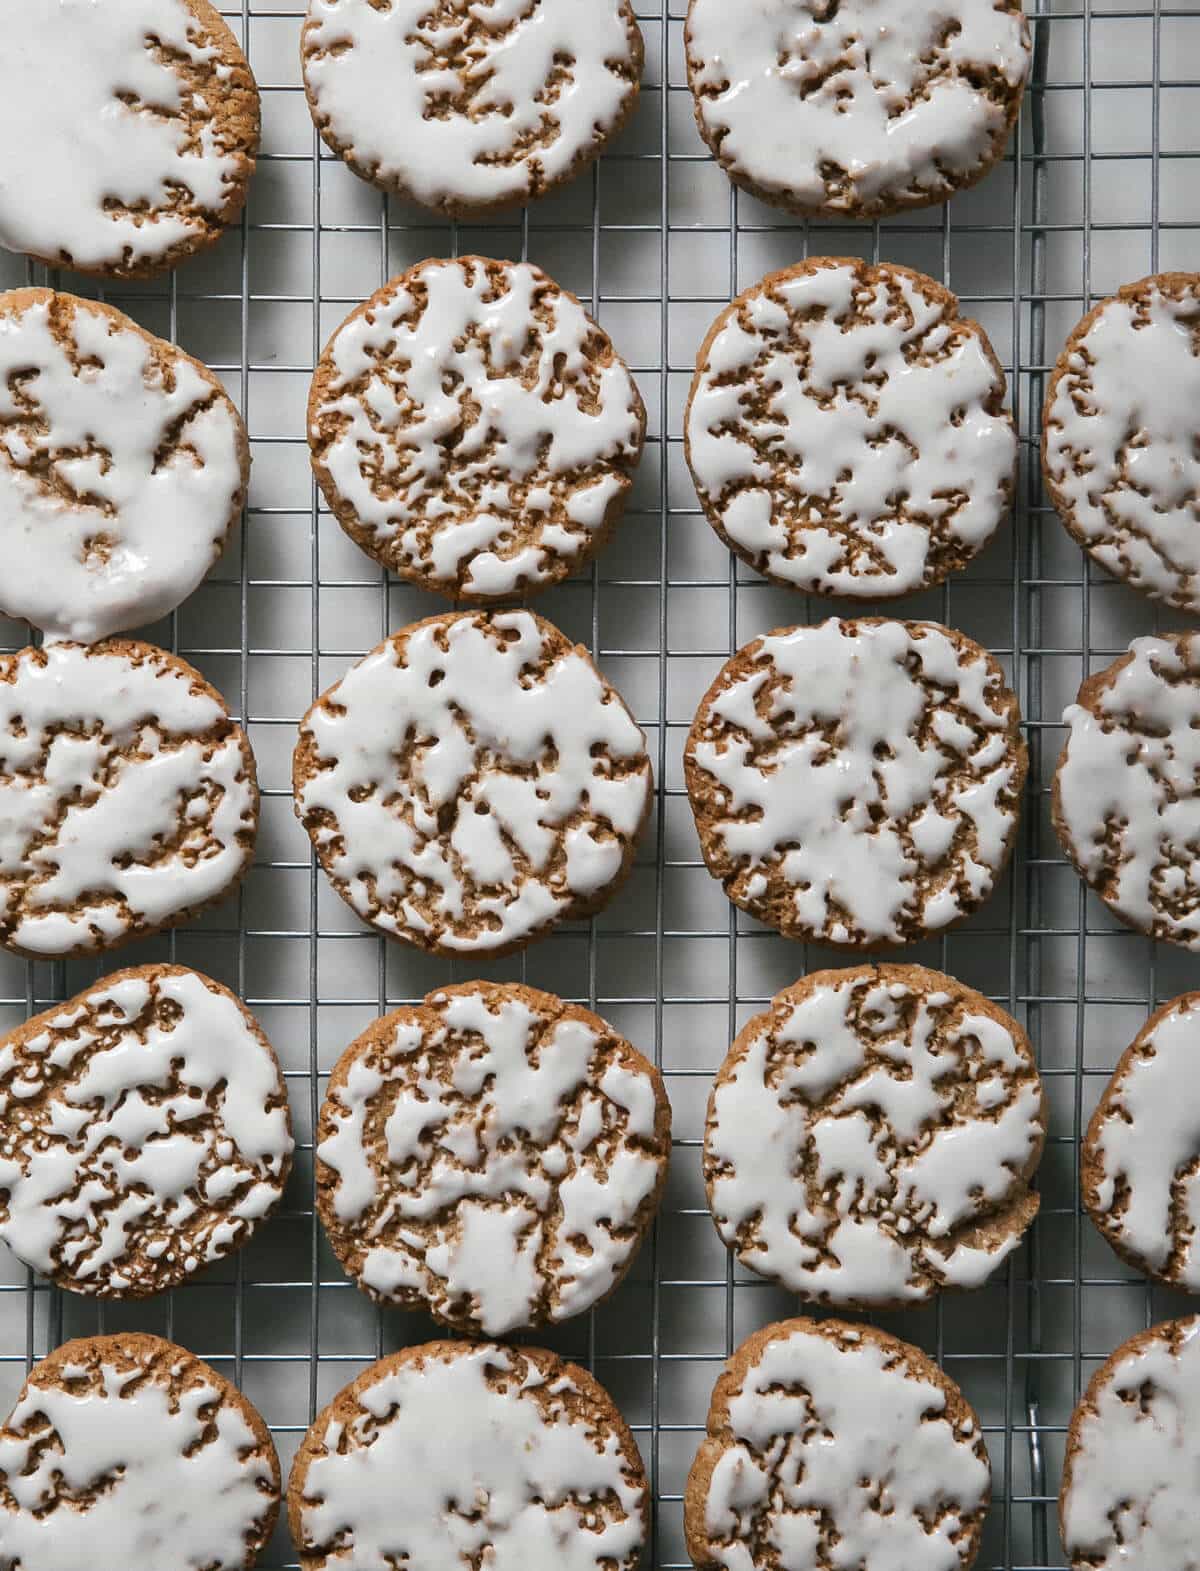
3. Iced Oatmeal Cookies – These are my absolute favorite cookies. The icing makes the cookies look like they’re covered in little snowflakes.
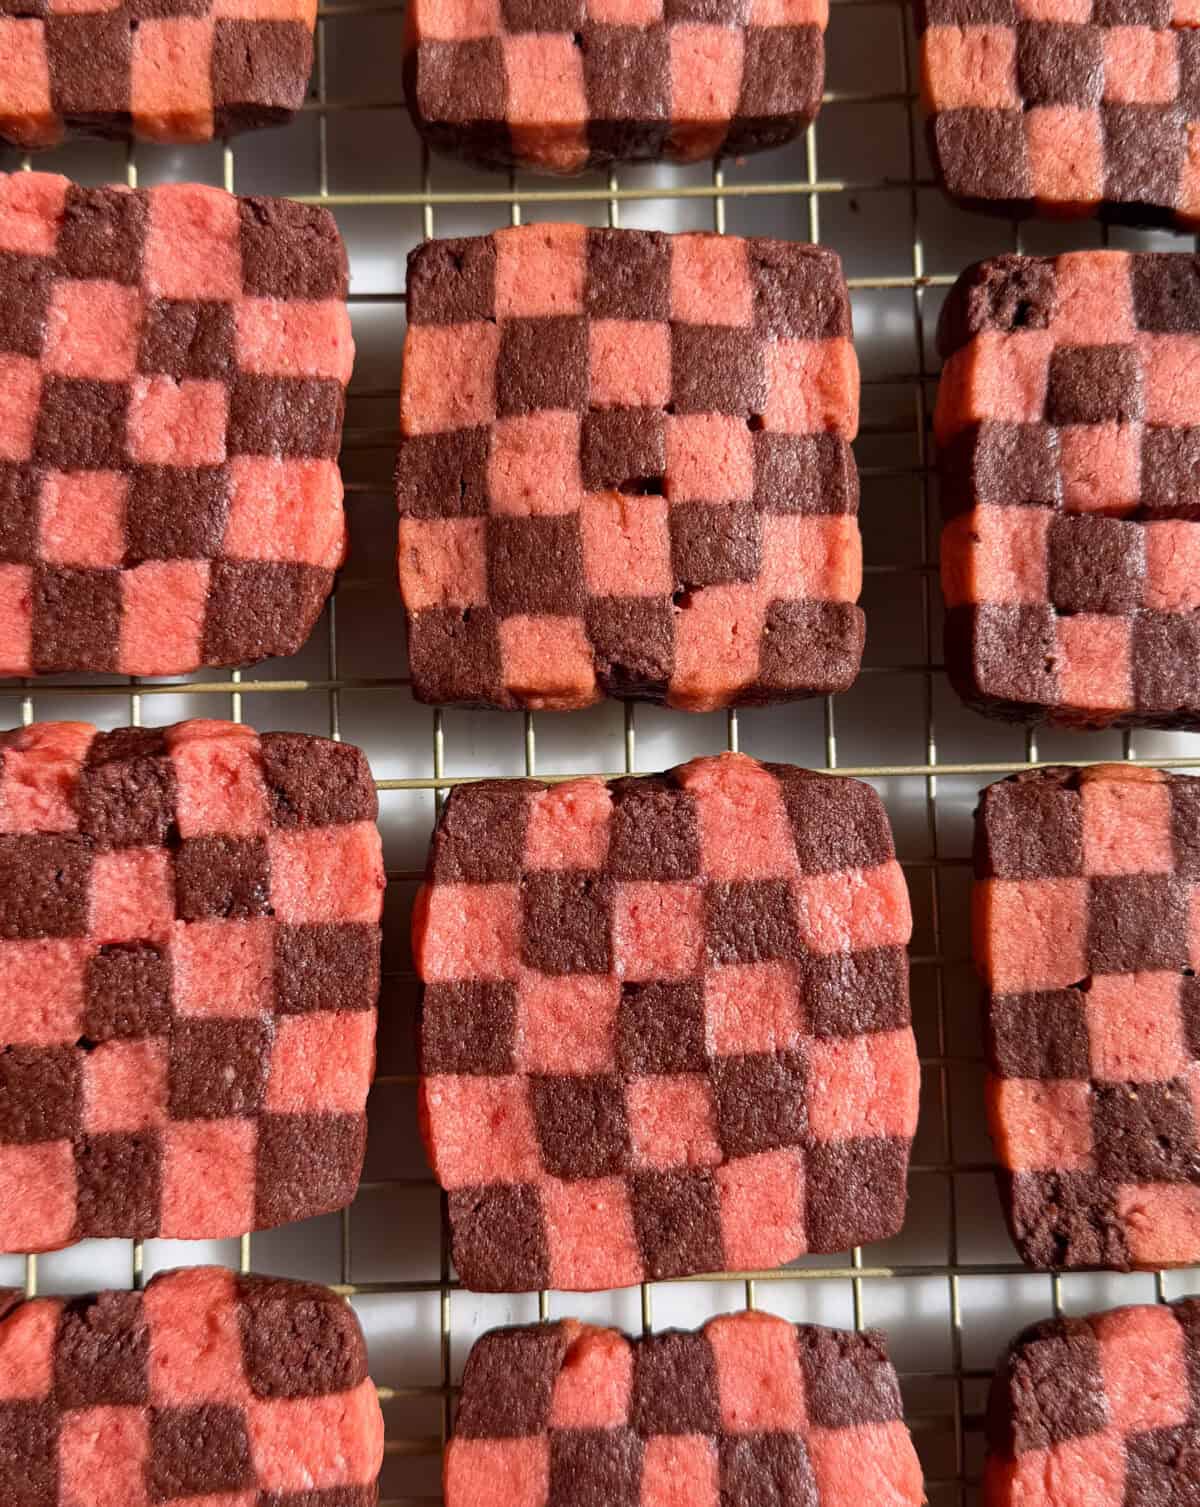
4. Strawberry Chocolate Checkered Cookies – These cookies require a little extra assembly time, but the dough comes together so quickly that you won’t even mind. Tastes like a chocolate-covered strawberry in cookie form and they look stunning too.
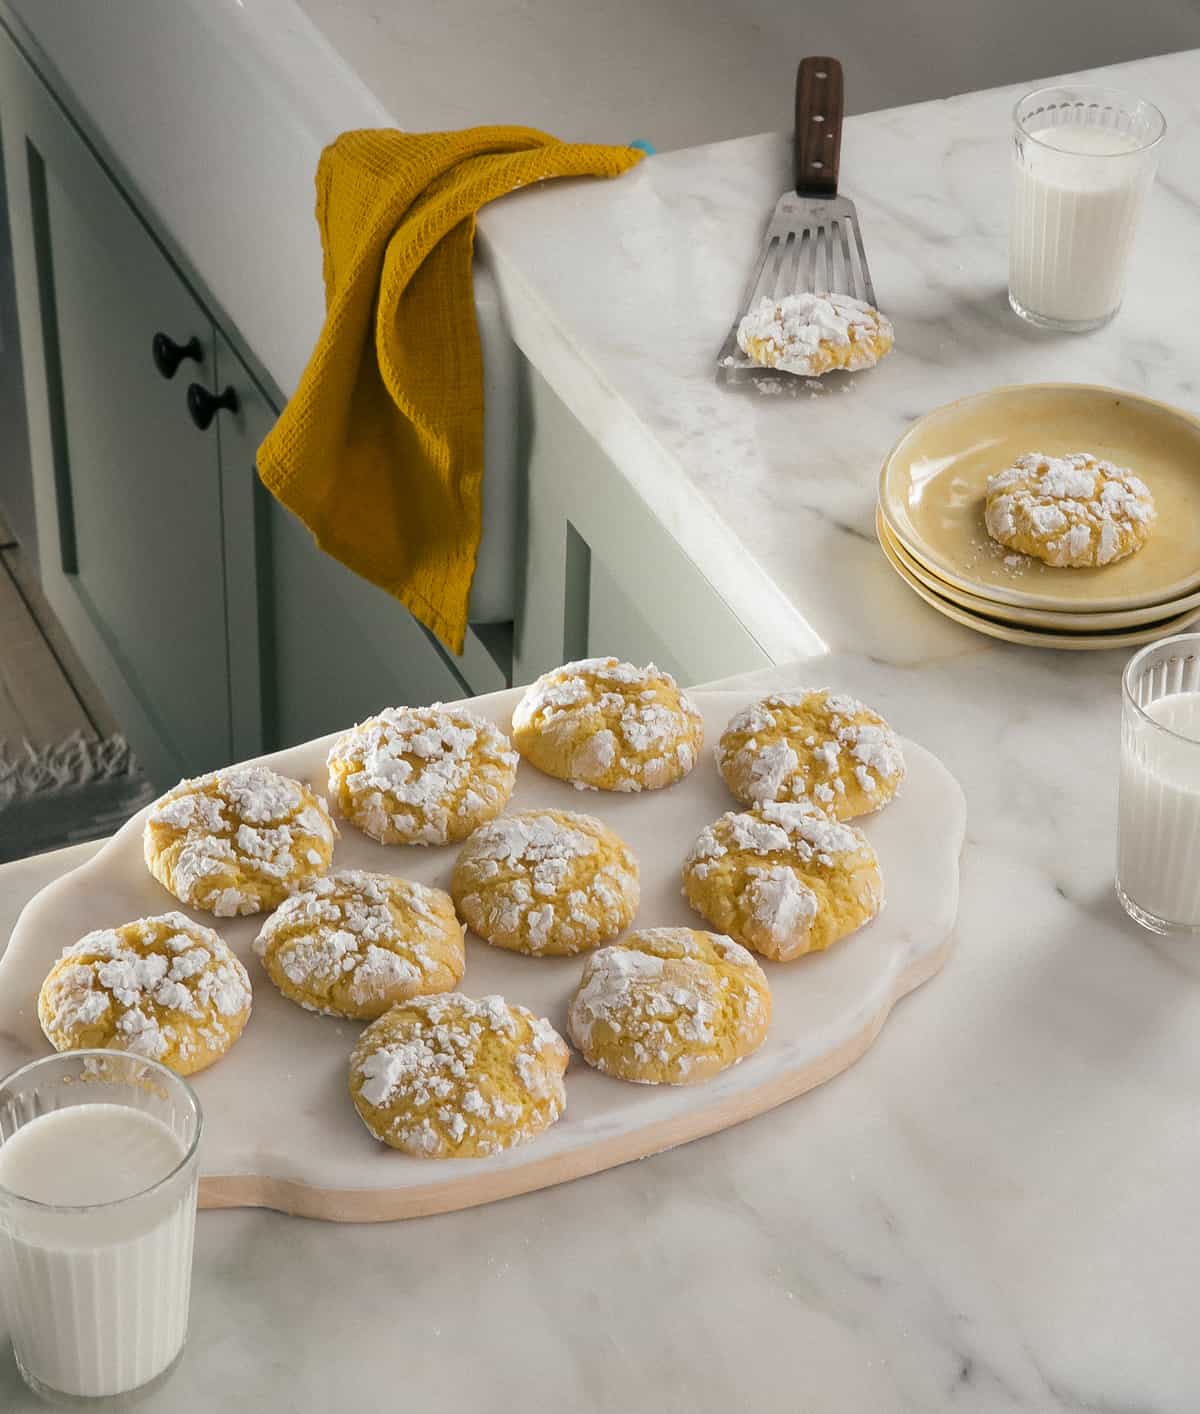
5. Lemon Crinkle Cookies – A bright, citrusy soft cookie that stands out among the rest. This cookie is perfect for when you need a break from the chocolate and caramel flavors.
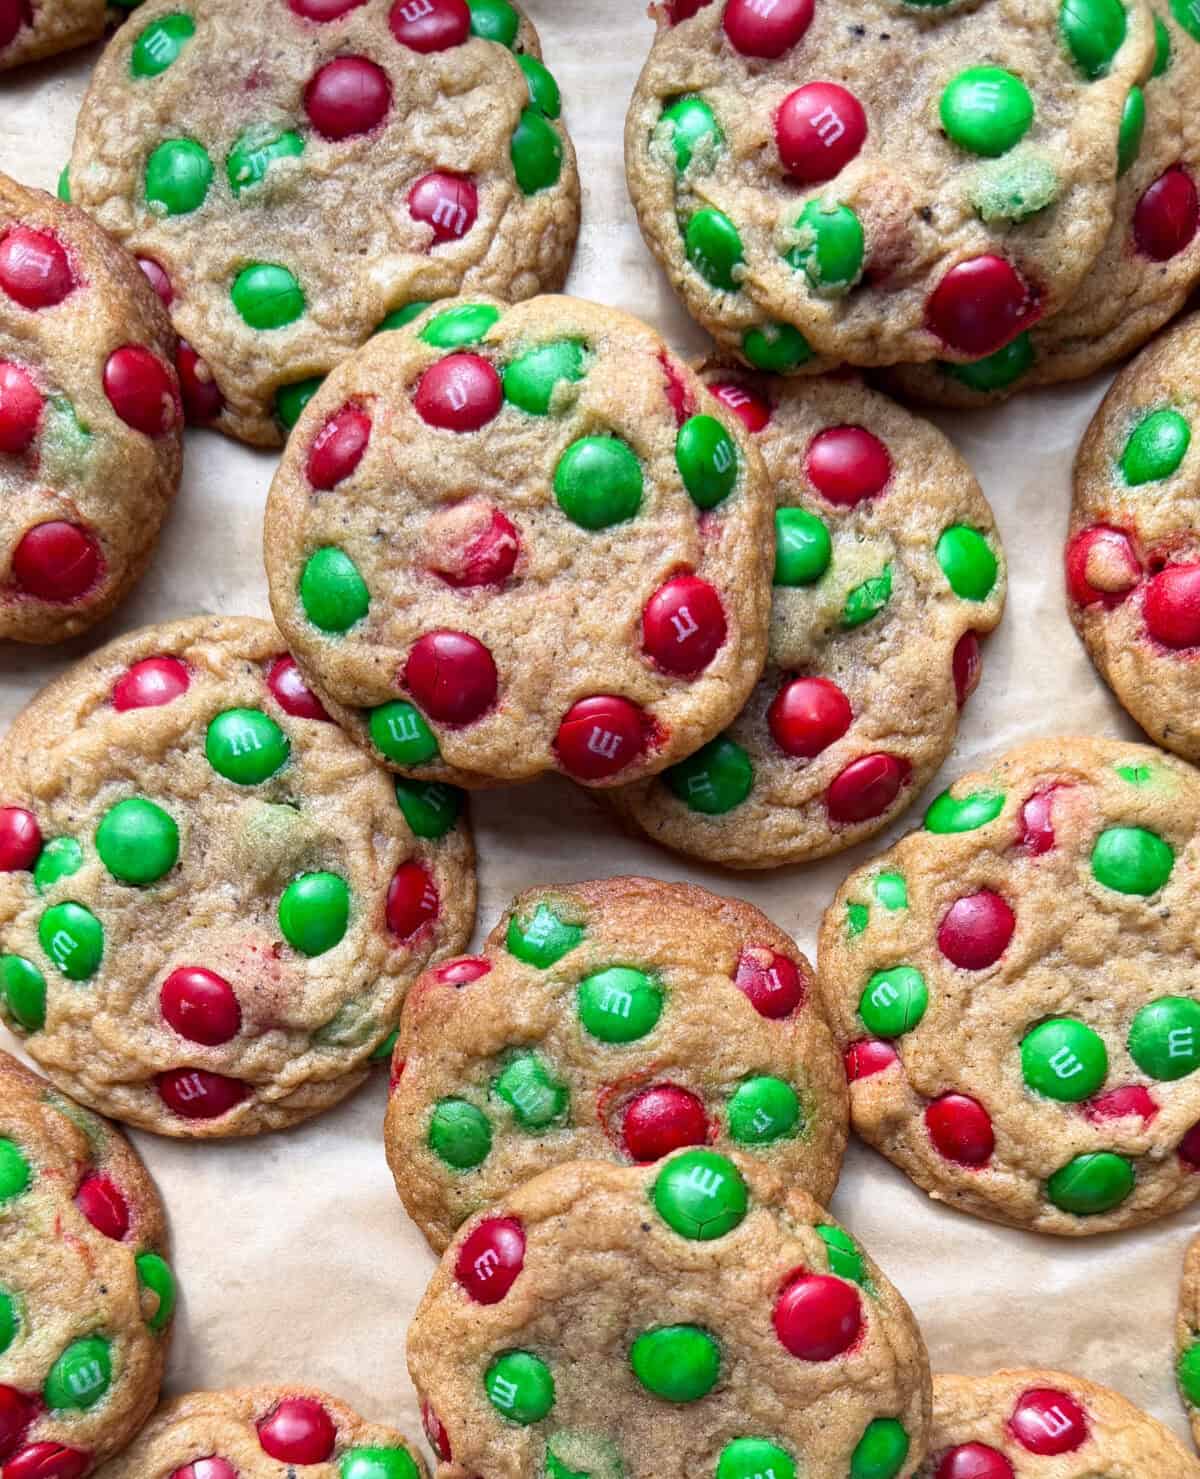
6. Brown Butter Christmas Chocolate Chip Cookies – A nostalgic cookie with speckles of nutty brown butter and classic Christmas colors throughout.
7. Chewy Ginger Molasses Cookie – Soft, chewy, and everything a gingerbread cookie should be. Heavy on spices with perfect molasses flavor. A Christmas cookie box essential. This recipe is from my friend, Eric.

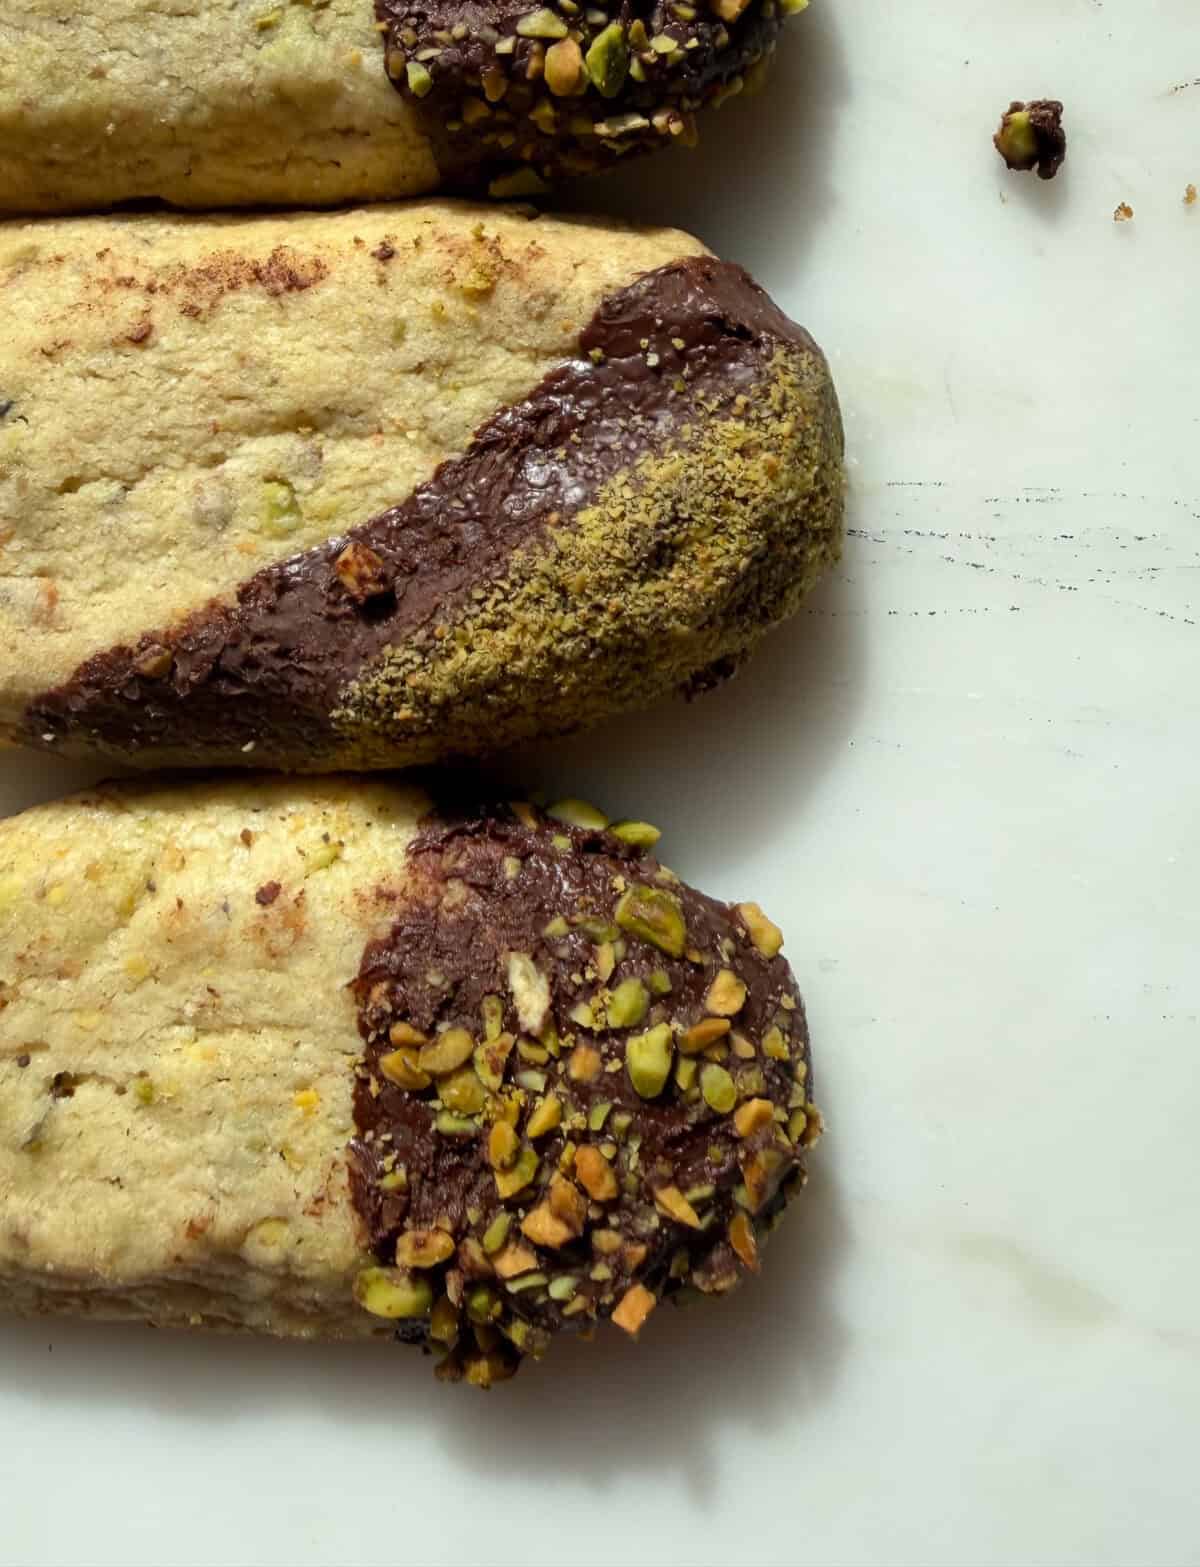
8. Chocolate-Dunked Pistachio Shortbread – Buttery, crumbly, and sophisticated. The pistachio adds lovely nutty flavor and beautiful green color, while the chocolate dip makes them extra special. This recipe is from Food52.
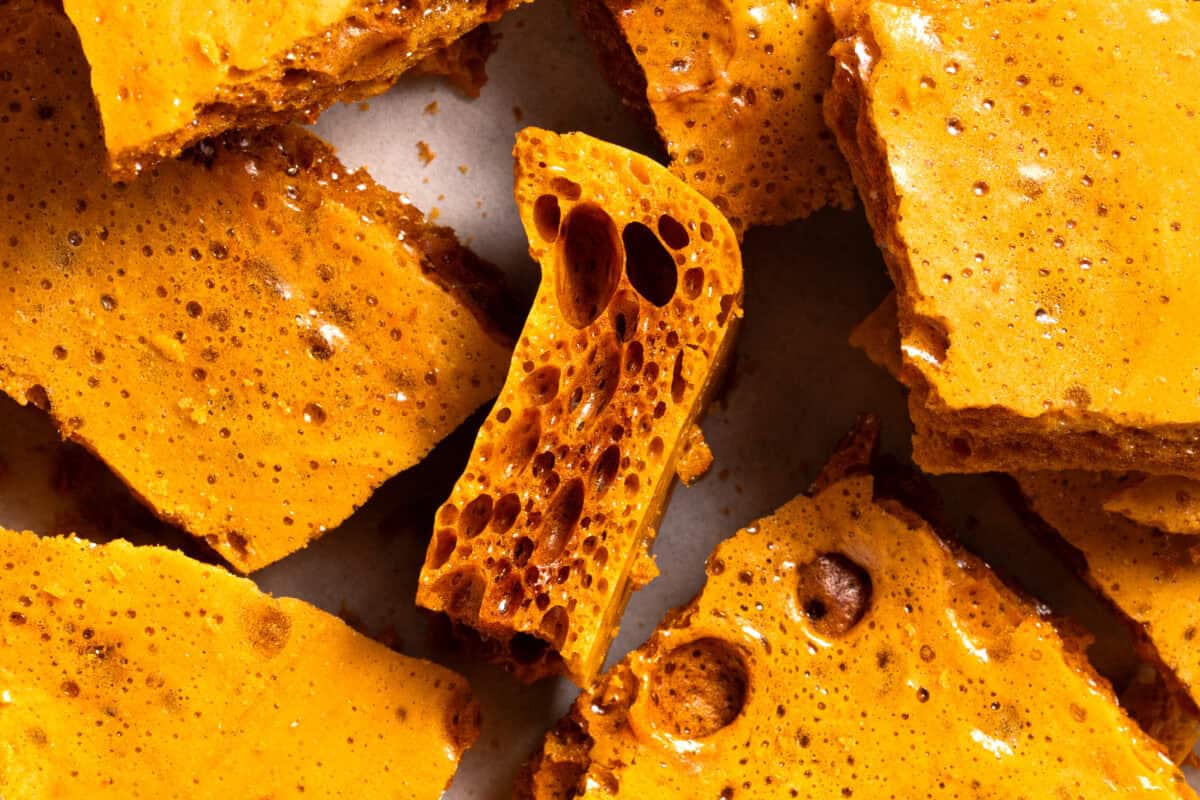
9. Honeycomb Candy – Not a cookie, but it’s a fun surprise. Crunchy, sweet, and it fills in gaps beautifully.
Supplies You’ll Need for A Cookie Box
- Cookie boxes – Choose boxes with sturdy bottoms (at least 8×8 inches). If your box feels flimsy, slip a cake board or piece of cardboard underneath before filling. I like these pie boxes for cookies! Or seek out tins at the dollar store.
- Twine or ribbon – Decorating the box makes it feel like another gift to unwrap.
- Gift tags or cards – A sweet touch to personalize your box and share a little holiday message.
- Parchment paper pre-cut sheets – Essential for baking cookies.
- Box filler – Keeps cookies from shifting around and everything beautifully in place.
- Cookie liners – These make boxes look so nostalgic and pretty, like those classic blue tins of Danish cookies.
- Cookie scoops – Not required, but super helpful for consistent sizing and shaping.
- Stand mixer or hand mixer – Makes the process a breeze (not required for every recipe, but definitely helpful).
- Baking sheets – I love NordicWare and I use their quarter baking sheets and half baking sheets. Light-colored sheets are best since darker ones conduct more heat and can over-brown your cookies.
- Ziploc Bags – I froze a few of the cookies and I put the dough in these bags for storage. And I stored a lot of the baked cookies in these and they stayed fresh for a few days!
Make a Schedule
I like to break up this labor of love into three days to avoid burnout. Spreading it out makes the whole process enjoyable instead of overwhelming.
Day 1: Prep The Cookie Dough – Start with cookies that need the longest rest time and those that bake well ahead. You’ve got options here depending on the recipe:
- Option 1: Make the dough, wrap it, and refrigerate.
- Option 2: Make the dough, scoop into balls, then wrap and refrigerate or freeze.
- Option 3: Make the dough, bake the cookies, cool completely, and freeze.
Each cookie has its sweet spot. Lemon Crinkle Cookies are best made fresh, while M&M Chocolate Chip Cookies can be scooped and frozen, then baked straight from the freezer whenever you’re ready. Review this blog post on How To Freeze Cookie Dough.
Day 2: Baking Day
- This is the longest day, but put on a good playlist or your favorite holiday movie in the background. The smell of cookies baking all day is honestly magical.
- Preheat your oven to the first recipe’s temperature and line your sheet trays with parchment paper.
- Prep your final toppings before you start: cinnamon sugar for the Chai Snickerdoodles, powdered sugar for the Lemon Crinkles, and so on. Having everything ready makes the process flow so much better.
- Arrange cookies on trays with enough space between them (they spread!), then set up your cooling racks nearby. Bake, cool completely, and store in airtight containers for assembly the next day.
Day 3: Decorate & Assembly
- Time to bring your cookies to life! Review your recipes and start with anything that needs time to set before packaging. We don’t want smudged cookies.
- This is where the magic happens: fill those Alfajores Linzer cookies with dulce de leche, drizzle icing over the Chai Snickerdoodles, and dip the Pistachio Shortbread in melted chocolate. These finishing touches transform good cookies into showstoppers.
- This is the fun part! All your hard work comes together as you pack beautiful boxes. Give yourself 2-3 hours to arrange everything thoughtfully, tie ribbons, and add those personal touches.
Christmas Cookie Box Tips!
- Use a large cookie cutter to ‘scoot’ any cookies that may spread. I like to do this to shape my cookies into perfect circles. It’s totally optional.
- Weigh your flour – I find with cookies, it’s critical to get the perfect consistency.
- Use light colored baking sheets – My favorite are from NordicWare. I own a few of them and they’re amazing. Dark-colored baking sheets will result in darker-bottomed cookies that are burnt or overbaked.
Making Christmas cookie boxes feels like a big project, but I promise it’s more fun than stressful once you get going.
And your boxes are going to be a hit even if your cookies aren’t picture-perfect. People love homemade treats. Plus, there’s something really satisfying about handing someone a box you actually made yourself.
Now go bake!
www.acozykitchen.com (Article Sourced Website)
#Ultimate #Guide #Designing #Packing #Perfect #Christmas #Cookie #Box