
Profiteroles are a crowd-pleasing, elegant French dessert. Learn how to make them with a recipe that delivers step-by-step instructions, pro tips, and make-ahead guidance to create crispy shells, cool scoops, and a generous drizzle of warm chocolate sauce.

This post contains affiliate links. Full disclosure is at the bottom of the article.
Profiteroles are the kind of dessert that makes people sit up a little straighter. You crack into a feather-light choux shell, discover a cool scoop of vanilla ice cream, then drown the whole thing in warm chocolate sauce. It’s dramatic without being fussy, classic yet completely crowd-friendly.
If you’ve been around here a bit, you already know my love for everything choux. From classic chocolate éclairs to irresistible salted caramel cream puffs, I love everything made with choux pastry—including savory gougères. I’ve spent years teaching readers how to make all these treats; I’ve even filmed an in-depth Masterclass on the subject.
Profiteroles are just one more incredibly delicious dessert you’ll have in your sweet arsenal if you learn just one technique: making pâte à choux. This French technique is actually very simple and quick to make, and I really do hope you’ll give it a try.
If you already love making cream puffs, profiteroles are their festive cousin—same choux pastry technique, but with the hot-cold contrast that turns a simple bite into a “wow, we’re doing this” moment.
In this guide, I’ll show you exactly how to make profiteroles from start to finish, explain why each step matters, and share the make-ahead tricks that make them a dream for entertaining.
Profiteroles, in a nutshell
A quick orientation before we jump in!
What profiteroles are: Crisp choux buns split, filled with ice cream, finished with pourable chocolate sauce.
Texture goal: Thin, slightly crunchy crust; cool, creamy center; glossy, warm chocolate sauce. It’s all about the contrasts!
Key skills to master: Learn how to cook the panade (combination of liquid, fat, and flour) properly, add eggs to sticky ribbon consistency, bake to deep golden, then dry.
Make-ahead plan: Bake and freeze shells; pre-scoop ice cream; re-crisp shells just before serving; keep sauce warm.
Serving tip: Assemble at the very last minute for the best hot-cold contrast.

What Are Profiteroles?
Here’s my 5-second answer: Profiteroles are cream puffs filled with ice cream and topped with warm chocolate sauce.
What’s the difference between a cream puff and a profiterole?
Cream puffs are typically filled with Chantilly or pastry cream; they can be fully prepared in advance and are served cool.
Profiteroles, on the other hand, are split open, filled with ice cream, and garnished with warm chocolate sauce tableside or just before serving.
Terminology tends to overlap in North America; you’ll see profiteroles called cream puffs, and vice versa. But now you’re part of the team that can educate others about the key differences between the two classic French desserts!
CHOUX PASTRY VIDEO MASTERCLASS
Never made pâte à choux before? In my detailed video class, you will learn how to make pâte à choux, then discover how to turn this one dough into chouquettes, cream puffs, profiteroles, éclairs, and gougères (savory cheese puffs). Along the way, I’ll provide helpful tips to help you succeed on your first try and demonstrate many variation ideas. My fun class will quickly allow you to master a new skill, which will, in turn, allow you to create impressive puffed treats. Watch now!
The Ingredients You Need to Make Profiteroles
You only need very basic ingredients to make pâte à choux: flour, butter, milk, water, eggs, and a pinch of salt.
The fact that you can transform these basic ingredients into something as magical as profiteroles is why I love French pastry so much!

The technique at the heart of making choux pastry is mastering the panade: to do it, you melt the butter into the simmering milk and water, then dump in the flour all at once and stir briskly until the mixture turns smooth, pulls away from the pan, and leaves a thin film around the pan.
This technique is achieved very quickly, yet it is key to creating perfect choux. The quick cook sets the starches, allowing the choux pastry to puff, dry out, and form that airy hollow center we’re looking for.
To fill the profiteroles, you can use your favorite vanilla ice cream, or go all out and make your own vanilla gelato. Either way, your profiteroles will be excellent!
To make the chocolate sauce, you only need quality dark chocolate and heavy cream.
In short, profiteroles are a dessert that requires few ingredients, but creates a huge impression.

Classic fillings: ice cream vs. pastry cream
Classic profiteroles are traditionally filled with vanilla ice cream. The contrast between the cold center and the warm chocolate sauce makes it a show-stopping dessert.
You’ll sometimes see profiteroles filled with pastry cream or whipped cream. I’m not here to judge! What you want is that contrast between crispy shells, creamy filling, and warm chocolate sauce. However, you get there, you’ll be guaranteed a delightful bite, but I’m here to guide you through the traditional recipe.
Step-by-Step: How to Make Profiteroles
Skip to full, printable recipe
In a medium saucepan, combine the milk, water, butter, and salt. When the mixture simmers, you dump the flour into the pan all at once and immediately start stirring vigorously with a wooden spoon (this is a good workout!)

Look at you now: you’re making the panade! After about a minute, the mixture will pull away from the sides of the pan. You want to keep cooking and stirring the mixture over medium heat for about 1 minute more to eliminate excess moisture.
PRO TIP: Cook the panade until a thin film forms on the pot. That’s your sign excess moisture has cooked off—taller shells, fewer collapses.

Once the panade is done, transfer it to the bowl of an electric mixer and let it cool for about 5 minutes, stirring occasionally to allow the steam to escape.
You’ll then start beating the eggs into the dough. Crack one egg in, then mix at medium speed for about 1 minute. The choux pastry will look awkward at this point; chunky, curdly, and frankly ugly.

As you add more eggs, you’ll see the dough smooth out. After the fourth egg, the pâte à choux should be smooth and elastic: as you mix it with a spatula, the pastry should stretch in elastic, sticky ribbons.
Here’s what choux pastry looks like after two eggs:

After three eggs, you can see the choux pastry is becoming smoother:

After adding all the eggs, the choux pastry should look smooth and elastic:

The size of eggs varies widely; even if you choose “large” ones, your volume will differ. Refer to my metric measurements in the recipe card if you’re looking for precision. But with experience, you’ll also learn to recognize when your choux pastry is done. If it’s smooth and elastic after 3 eggs, by all means, stop there! If the dough still seems stiff and curdly after 4 eggs, beat one extra egg and add more, 1 tablespoon at a time, until you reach the right consistency.
Pipe neat rounds and smooth out peaks
In the world of choux baking, even mounds = even lift.
My favorite hack for creating perfectly sized cream puffs in a snap is using a cookie scoop. This tool lets you easily control the amount of dough you use and creates cream puffs that are precisely the same size.
This recipe for profiteroles uses a medium ¾ oz (1 ½ tbsp) cookie scoop.
Make sure to line your baking sheet with parchment paper to prevent the fragile profiterole shells from sticking.

You can also transfer the dough to a pastry bag fitted with a large round tip to pipe it the old school way. This method might produce puffs that vary slightly in size, but they’ll still be just as delicious.

Once you’ve portioned out the dough, tap down peaks with damp fingertips to even out the shape and prevent scorching and cracking.

Bake to a deep golden, then dry the shells
You want to bake the profiterole shells until deeply, evenly golden from top to bottom. If the middle part of the shells still looks blonde compared to the top and bottom, they will likely deflate when you take them out of the oven.
Once the shells are baked, let them cool for at least 30 minutes. This will also allow them to dry out and reach their trademark crunchy/tender texture.
You’ll need to bake the shells in batches; if you have several baking sheets, you can portion them all out right away and let them rest at room temperature while each batch bakes. If you have only one baking sheet, transfer the baked shells to a wire rack, let the baking sheet cool to room temp, then portion out the next batch.

Fill and serve like a pro
Make your chocolate sauce right before serving; it comes together in minutes. Alternatively, you can make the chocolate sauce ahead of time, refrigerate it, and reheat it just before serving. Refer to my FAQ below for additional make-ahead tips.
When ready to serve, split cool shells with a serrated knife. Tuck in small scoops of ice cream or gelato in each bottom half, then cover with the top half.


PRO TIP: If you used a cookie scoop to portion out the dough, use that same scoop to create balls that will perfectly fill your shells.
To elicit the most enthusiastic wows from your guests, make sure to pour that luscious chocolate sauce right in front of their eyes. Don’t wait a minute more and tuck in!
Your Guide to Making Ahead, Freezing & Re-Crisping
How to store baked shells (room temp vs. frozen)
If you’re serving the profiterole shells today: keep them loosely covered at room temperature.
If you’re making the profiterole shells ahead of time, set them snugly over a baking sheet, then freeze until they’re hard. Transfer to an airtight container or heavy-duty freezer bags and keep for up to 1 month to avoid freezer burns.
Re-crisp to bring back the shatter
Let frozen shells thaw at room temperatures (they’re so thin it won’t take more than 30 minutes.) Place in a preheated 300°F (150°C) oven for 8 minutes, or just until the shells feel firm and crisp again. Let cool completely.
Pre-scoop ice cream
Here’s another clever make-ahead tip if you plan to serve profiteroles to a crowd: pre-scoop ice cream or gelato onto a prepared baking sheet. Cover loosely with plastic wrap and keep in the freezer until you’re ready to serve.
Make the chocolate sauce ahead of time
Prepare the sauce as indicated in the recipe, then transfer it to a glass storage container. Refrigerate for up to 1 week.
Right before serving, scrape the sauce back into a saucepan set over very gentle heat. This is really important: you want to warm up the sauce low and slow to avoid it burning and splitting. If the sauce seems a bit stiff, you can add a tablespoon or two of cream to loosen it again.
PRO TIP: For a crowd, set a quick assembly line: warmed plates → shells → pre-scooped ice cream → pitcher of chocolate sauce.
Filling and Sauce Variations
Vary the filling: Who says profiteroles should only be filled with vanilla ice cream? Go for coffee, pistachio or orange almond gelato instead. For a fruity spin, fill the shells with blueberry, raspberry, or cherry gelato.
Add flavor to the chocolate sauce: When heating the sauce, add a shot of espresso, a tablespoon of whiskey, a teaspoon of finely grated orange zest, half a teaspoon of cinnamon, or a pinch of cayenne pepper.
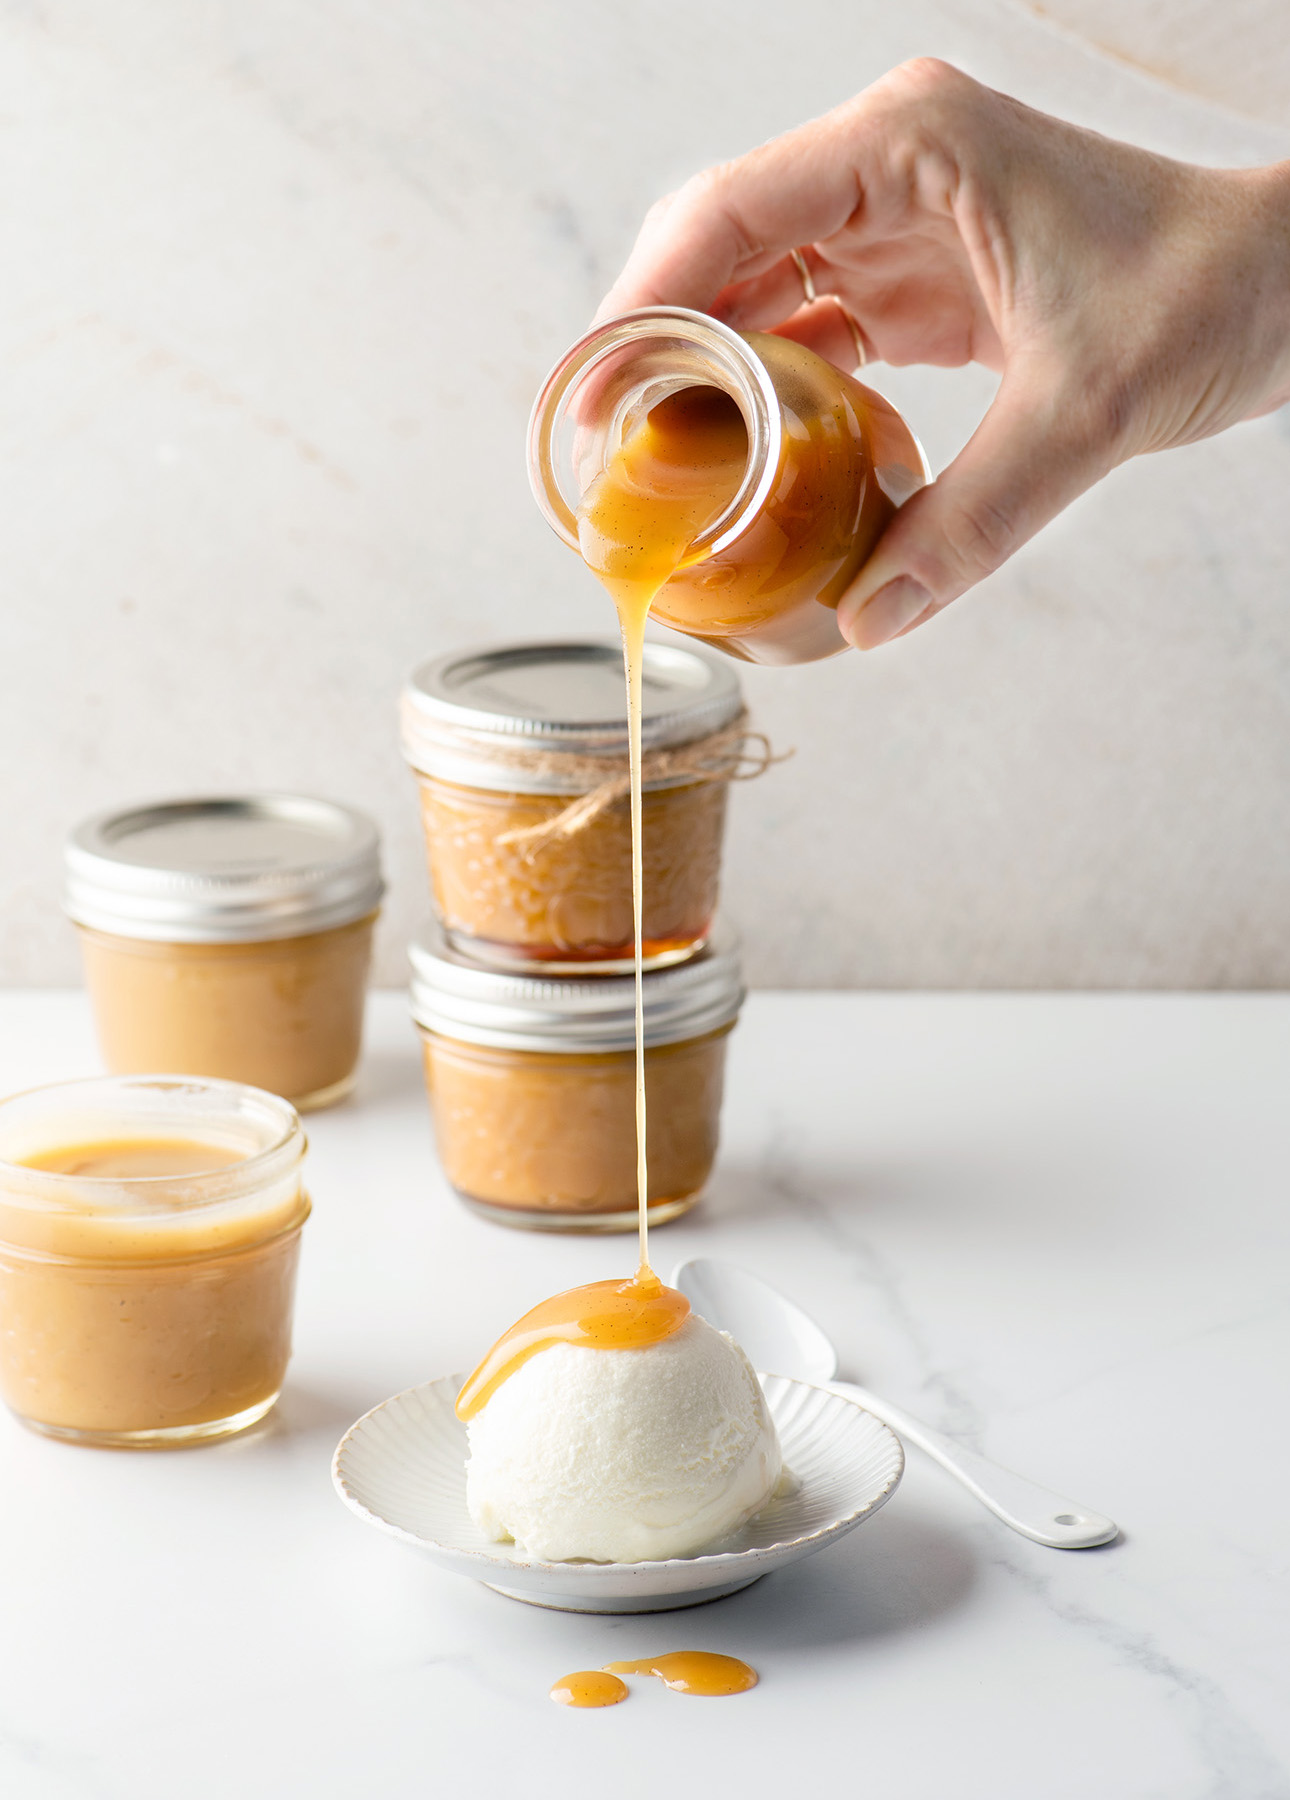
Change up the sauce: For a profiterole with a different flavor profile but just as indulgent, replace the chocolate sauce with warm butterscotch, salted caramel, or maple caramel.
Troubleshooting Profiteroles
Puffs collapsed while cooling: Usually under-baked or not dried long enough. Bake to a deeper golden and extend the dry-out.
No hollow centers: Dough was too wet (too many eggs) or the oven wasn’t hot enough. Aim for the sticky ribbon cue and verify temperature.
Large cracks or burnt tips: Peaks weren’t smoothed or piping was uneven. Try to create even portions of dough (remember my cookie-scoop tip!) and smooth out mounds with damp fingertips before baking.
Soggy after filling: Humidity from the filling softened the crust. Make sure to assemble at the last minute. If the shells feel soft before serving, you can re-crisp them by returning them to a low oven for a few minutes. Let cool completely, then fill and serve.

FAQs
Can I make the choux pastry ahead of time?
Yes, you can make choux pastry and refrigerate it for up to 8 hours before baking. Store in an airtight container until ready to portion out the shells. You can do this straight from the fridge, then bake as indicated in the recipe, keeping in mind that cold pastry may add a few minutes to the baking time.
Can I make profiteroles the day before?
Yes: bake and store the shells, pre-scoop ice cream, and make the sauce ahead. Re-crisp shells and warm the sauce right before serving.
How to know when profiterole shells are baked through
Profiterole shells are baked through and ready to come out of the oven when they’re dark golden brown all around—that is, from the top to the bottom of the puff. This tends to take longer than you might expect; cream puffs might look perfectly puffed and golden after 20 minutes; but if the middle part of each puff is still blonde when you pull them out of the oven, they will likely collapse while cooling instead of retaining their beautiful round shape.
Can profiteroles be frozen?
Although it might be tempting to fill profiterole shells with ice cream and freeze them as is to save time, you should know that the thawing process will render your shells soggy, and a soggy profiterole is about as sad a dessert as I can imagine.
You’re best to freeze empty, whole shells instead. After baking, let them cool to room temperature. Set all the profiterole shells on a baking sheet, then place the sheet in the freezer for at least 3 hours or overnight.
Once the shells are frozen hard, gently transfer them to an airtight container or a heavy-duty freezer bag. Be aware that frozen shells are very fragile and can break easily if they’re not handled with care! You can keep cream puff shells frozen for up to 1 month.
How to re-crisp profiterole shells
Profiterole shells that have rested more than a few hours, been refrigerated, or been frozen and thawed will be softer than you want them to be.
To return profiterole shells to their freshly baked glory, preheat the oven to 300°F (150°F). Place the shells on a lined baking sheet. Bake for 5-8 minutes, then transfer to a wire rack and let cool completely to room temperature. Proceed with filling and serving the profiteroles as indicated in the recipe.

For the shells
- ½ cup milk
- ½ cup water
- ½ cup unsalted butter (1 stick), cut into cubes
- ½ tsp kosher salt, or fine sea salt
- 1 cup all-purpose flour
- 4 large eggs (about 200 g)
For the chocolate sauce
- 1 ¼ cups heavy cream (35% m.f.)
- 8 oz semisweet or bittersweet chocolate, finely chopped
Make the Choux Pastry
- In a medium saucepan, combine the milk, water, butter, and salt. Bring to a boil over medium heat. When the mixture is boiling, add the flour all at once and stir vigorously with a wooden spoon until the mixture pulls away from the sides of the pan. Keep cooking and stirring the mixture over medium heat for about 1 minute to eliminate excess moisture. A thin layer of dough will stick to the bottom and sides of the pan; this is normal and a sign that the dough is properly cooked. Take off the heat.
- Transfer the dough to the bowl of a stand mixer, or to a large mixing bowl if using a hand mixer, and let cool for 5 minutes, stirring occasionally to allow some of the steam to come out.
Set the mixer to medium speed, and beat the eggs in one at a time, making sure each egg is well incorporated before adding the next. Scrape the bowl down between each addition. Every time you add an egg, the dough will separate and look curdled, but it will then come back together in a super sticky, crumbly way. The dough will keep on getting smoother as you add more eggs. The dough is done when it is very thick and sticky, but also smooth and elastic.
Choux pastry can be covered and refrigerated for up to 24 hours (half a day.) You do not need to bring choux pastry back to room temperature before baking.
Shape the Profiterole Shells
- Line a baking sheet with parchment paper.
- If using a cookie scoop to shape the prof: Fill a ¾ oz (1 ½ tbsp) cookie scoop scant with choux pastry, then wipe excess pastry off the sides of the scoop (this will create cleaner mounds of dough.) Drop the choux pastry onto the prepared baking sheet.
Repeat these steps, setting the puffs 3 inches (8 cm) apart to leave plenty of room for expansion. You should be able to fit about 12 profiteroles on a standard half-sheet pan. (Refrigerate the remaining choux pastry between batches.) Using damp fingertips, press down any peaks of dough to create round puffs.
- If using a piping bag to shape the profiteroles: Fit a large pastry bag with a size 6 (Ateco 806) round pastry tip. (The opening should be ½-in / 1¼ cm.) Fold the top 3 inches (7 cm) of the piping bag down over itself like a cuff. Using a spatula, scoop and push the choux pastry into the bag. Unfold the cuff and squeeze the bag to push the choux paste toward the tip. Firmly twist the top part of the bag to push the choux pastry down into the tip.
Hold the bag with the tip perpendicular to the baking sheet. With the tip of the bag touching the sheet, squeeze gently and evenly with one hand, while guiding the tip of the bag with the other. Pipe out mounds of dough about the size of a ping pong ball (1 ½-in / 4 cm). You should be able to fit about 12 profiteroles on a standard half-sheet pan. Using damp fingertips, press down peaks of dough to create round puffs.
Bake the profiterole shells
Place a rack in the middle position of the oven. Preheat the oven to 400°F (200°C).
Bake one sheet of profiterole shells for about 30 minutes, or until the shells are golden brown all around (if the puffs are light blond in the middle section, they will collapse upon cooling.) Carefully slide the parchment paper sheet with the shells on off the sheet onto a rack to cool, or transfer shells to the rack directly. Let cool to room temperature, at least 30 minutes.
- Repeat the baking steps to prepare all the profiterole shells. If you have only one baking sheet, you can pull the parchment paper sheet out of the sheet and carefully transfer that to the wire rack for cooling. Run the baking sheet under cold water to cool it down, then line with parchment paper and repeat the steps to bake a second batch of profiteroles.
Assemble the Profiteroles
- Make the chocolate sauce: In a small saucepan, bring the cream to a boil. Remove from the heat and add the chopped chocolate. Whisk until most of the chocolate is melted. Cover and let stand for 3 minutes. Whisk gently until completely smooth. Transfer to a serving jug.
- Use a serrated knife to cut off the top third of each pastry shell. Set each “cap” right by its shell.
Fill each bottom with a scoop of vanilla ice cream, then cover with its top. Repeat to fill all the profiteroles.
SERVING: Set the profiteroles in front of your guests and pour warm chocolate sauce over each portion. Enjoy right away.
Once the shells are frozen hard, gently transfer them to an airtight container or heavy-duty plastic bag (the frozen shells are very fragile and can break easily if they’re not handled with care.) Keep frozen for up to 1 month.
To use frozen profiterole shells: Preheat the oven to 325°F (160°C). Place the shells on a baking sheet. Bake for 7 minutes, then transfer to a wire rack and let cool completely to room temperature. (This will return the profiterole shells to their crisp, freshly baked state.) Proceed with filling the profiteroles as indicated above.
Did you make this?
Tell me how you liked it! Leave a comment or take a picture and tag it with @foodnouveau on Instagram.
This site participates in the Amazon Associates Program, an affiliate advertising program designed to provide a means for the site to earn fees by linking to Amazon and affiliated sites.
If you click on an affiliate link, I may earn advertising or referral fees if you purchase through such links at no extra cost to you. This helps me create new content for the blog, so thank you! Learn more about advertising on this site by reading my Disclosure Policy.
foodnouveau.com (Article Sourced Website)
#Profiteroles #Recipe #StepbyStep #Guide